Base Build Guide
🛠 Step-by-Step Build Guide
This guide walks you through assembling the Reliable Shot Clock Stand Bucket Base
✅ Setup – Gather Your Components
Make sure you have everything before starting:
- 5 Gallon Bucket
- 4x4 Wood Post
- 40lbs bag of dry Concrete
- 2x 36" ¾" Steel Pipes (Threaded at Both Ends)
- 3/4" NPT Pipe Flange
- ¾" Coupling Fitting
- 4x Wood Deck Screws
- A water source (to mix with the concrete)
You will also need the following tools:
- A benchsaw, woodsaw, or handsaw to cut the wood
- An electric drill
- A tape measure
- A level (OPTIONAL)
- A container to mix the concrete (OPTIONAL)
📏 Step 1 – Cut a 16" long section from your 4x4 Wood Post
Using your saw of choice, begin by using a tape measure to place a mark at 16" from the end. Then, make your cut, and ensure there are no sharp leftover edges.

Measure and cut a 16" long peice from the 4x4
🔧 Step 2 – Prepare for concrete
Once you have cut your 4x4 to 16", it is time to place it into your 5 gallon bucket, and prepare to pour concrete around the 4x4.
While securing the 4x4 to bottom of the bucket it optional, it will help secure the wood to the bucket and prevent concrete from separating the wood from the bottom of the bucket.
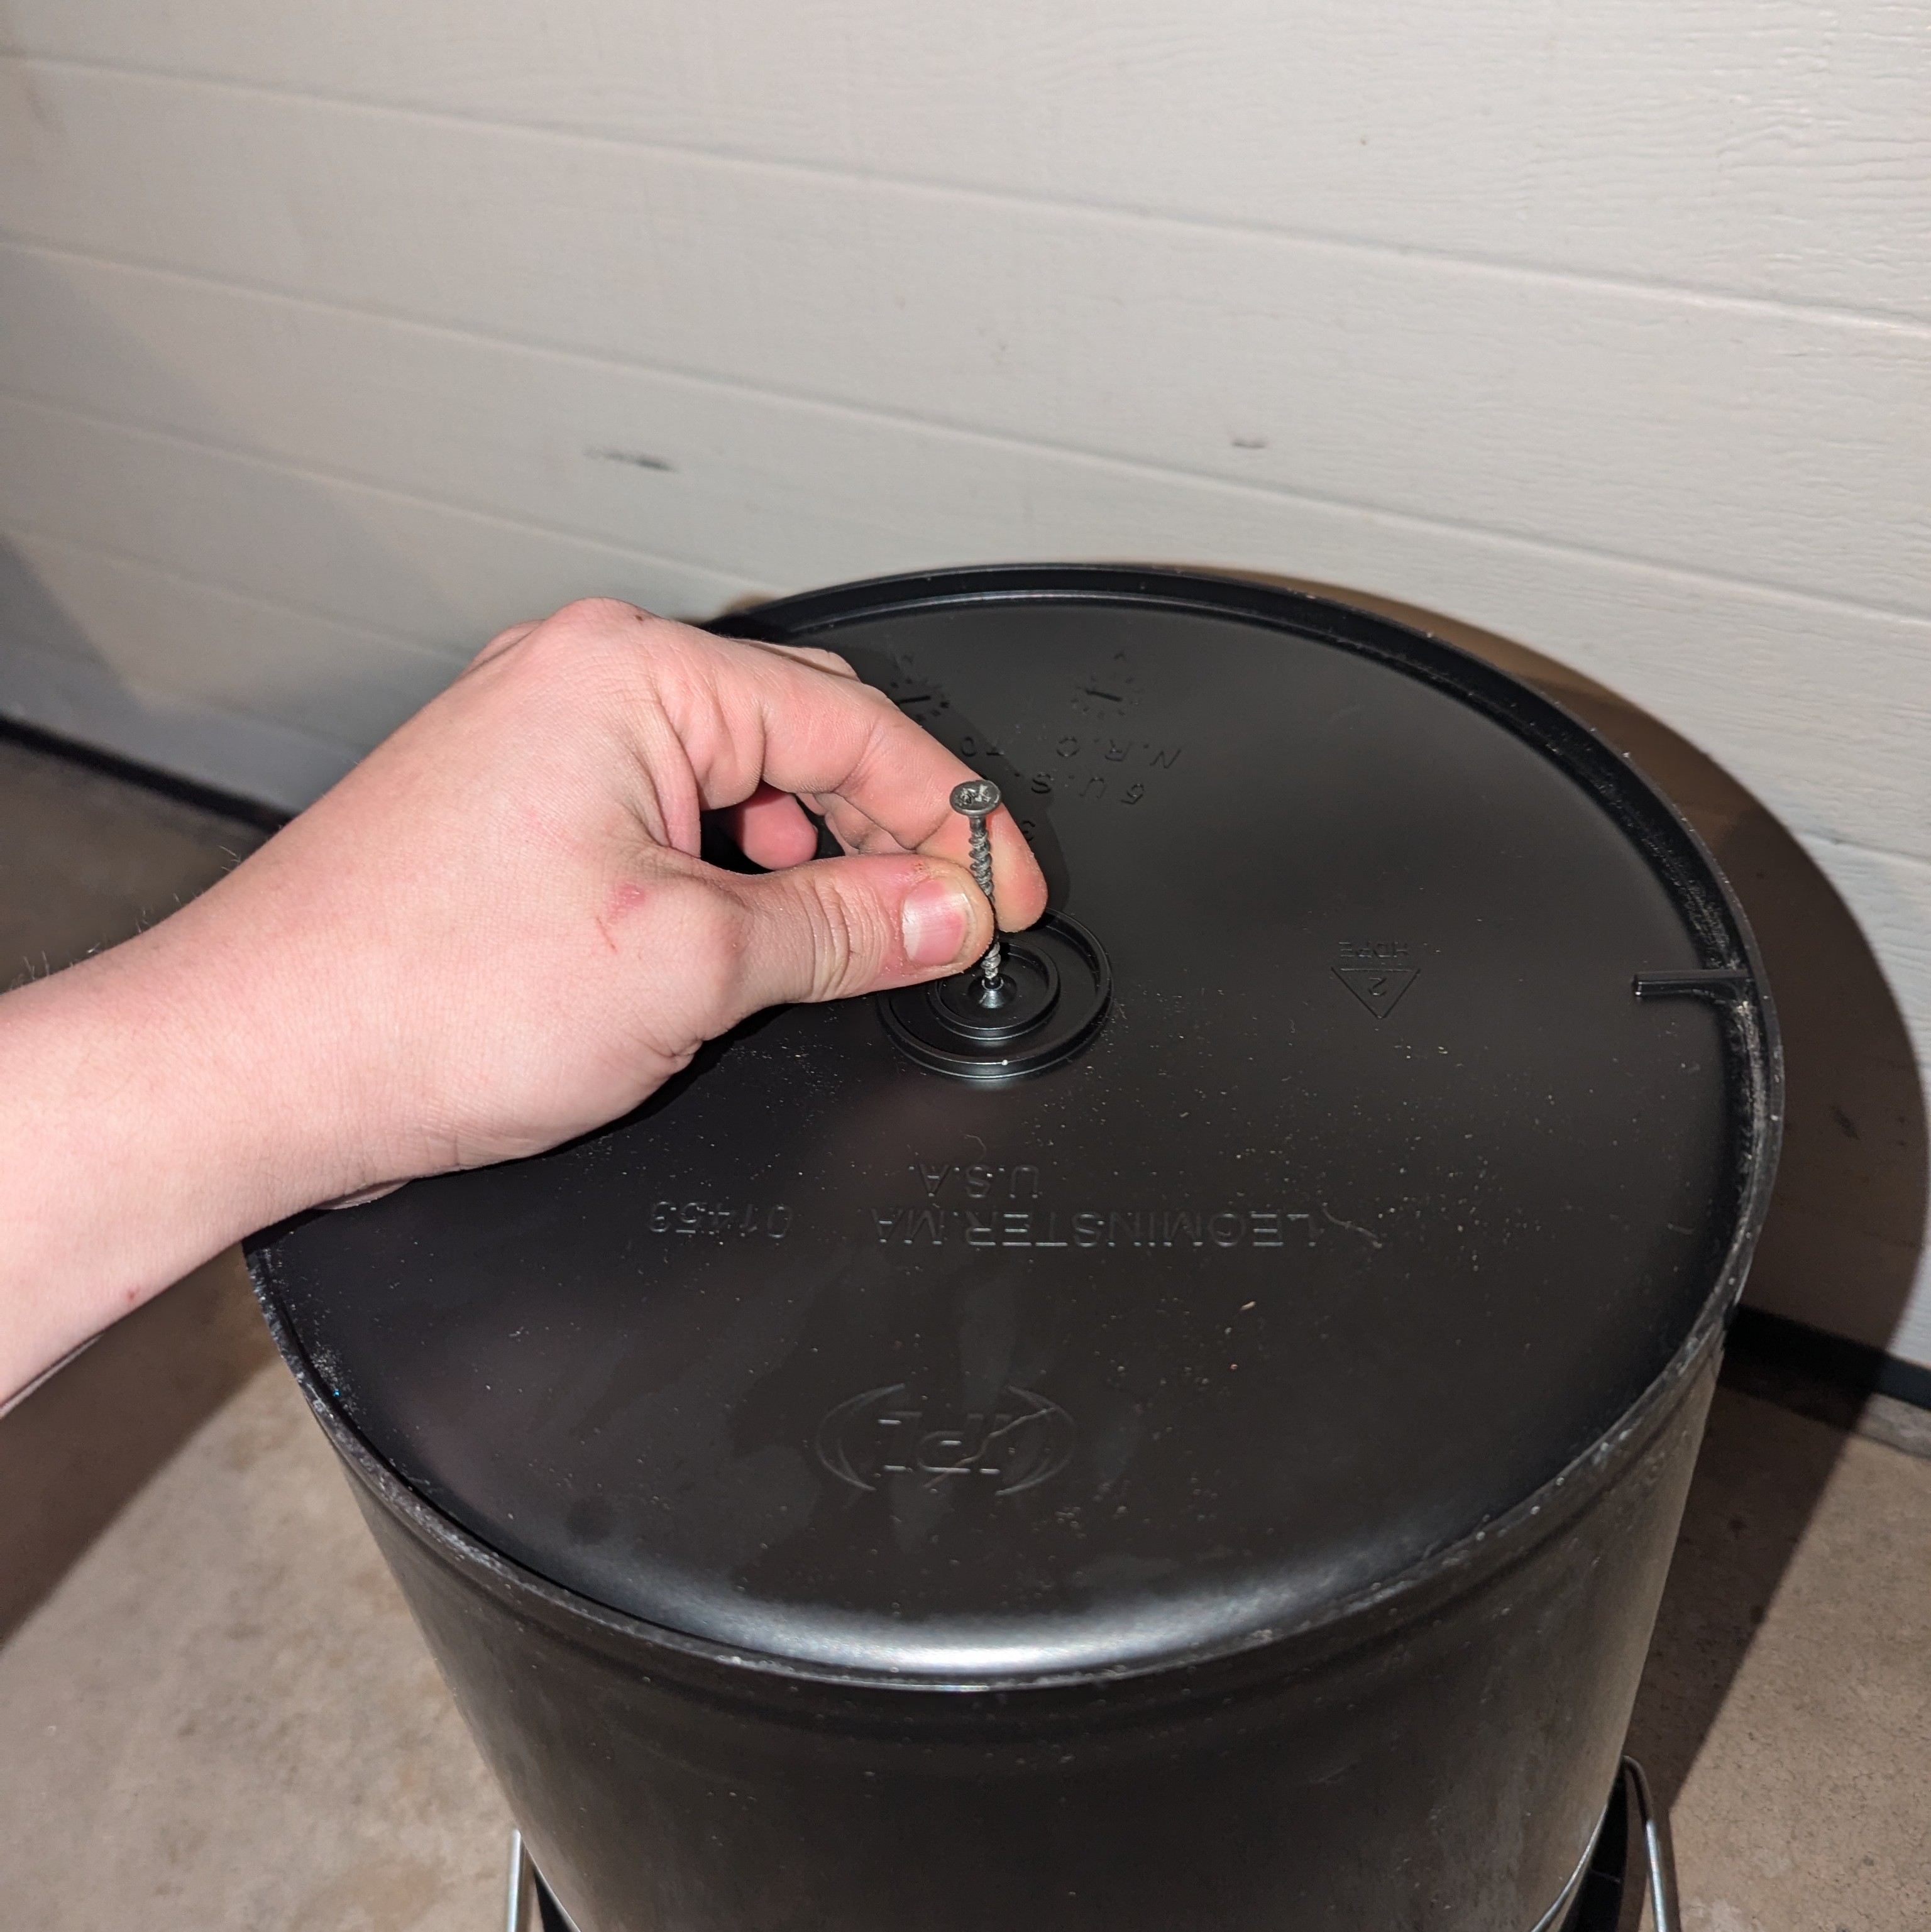
(OPTIONAL) Drill a screw through the bottom of the bucket into your 4x4, to ensure it stays together
You may also optionally choose to check the grade of the 4x4 once it is in the bucket using a level. The more level the better the end product will be!
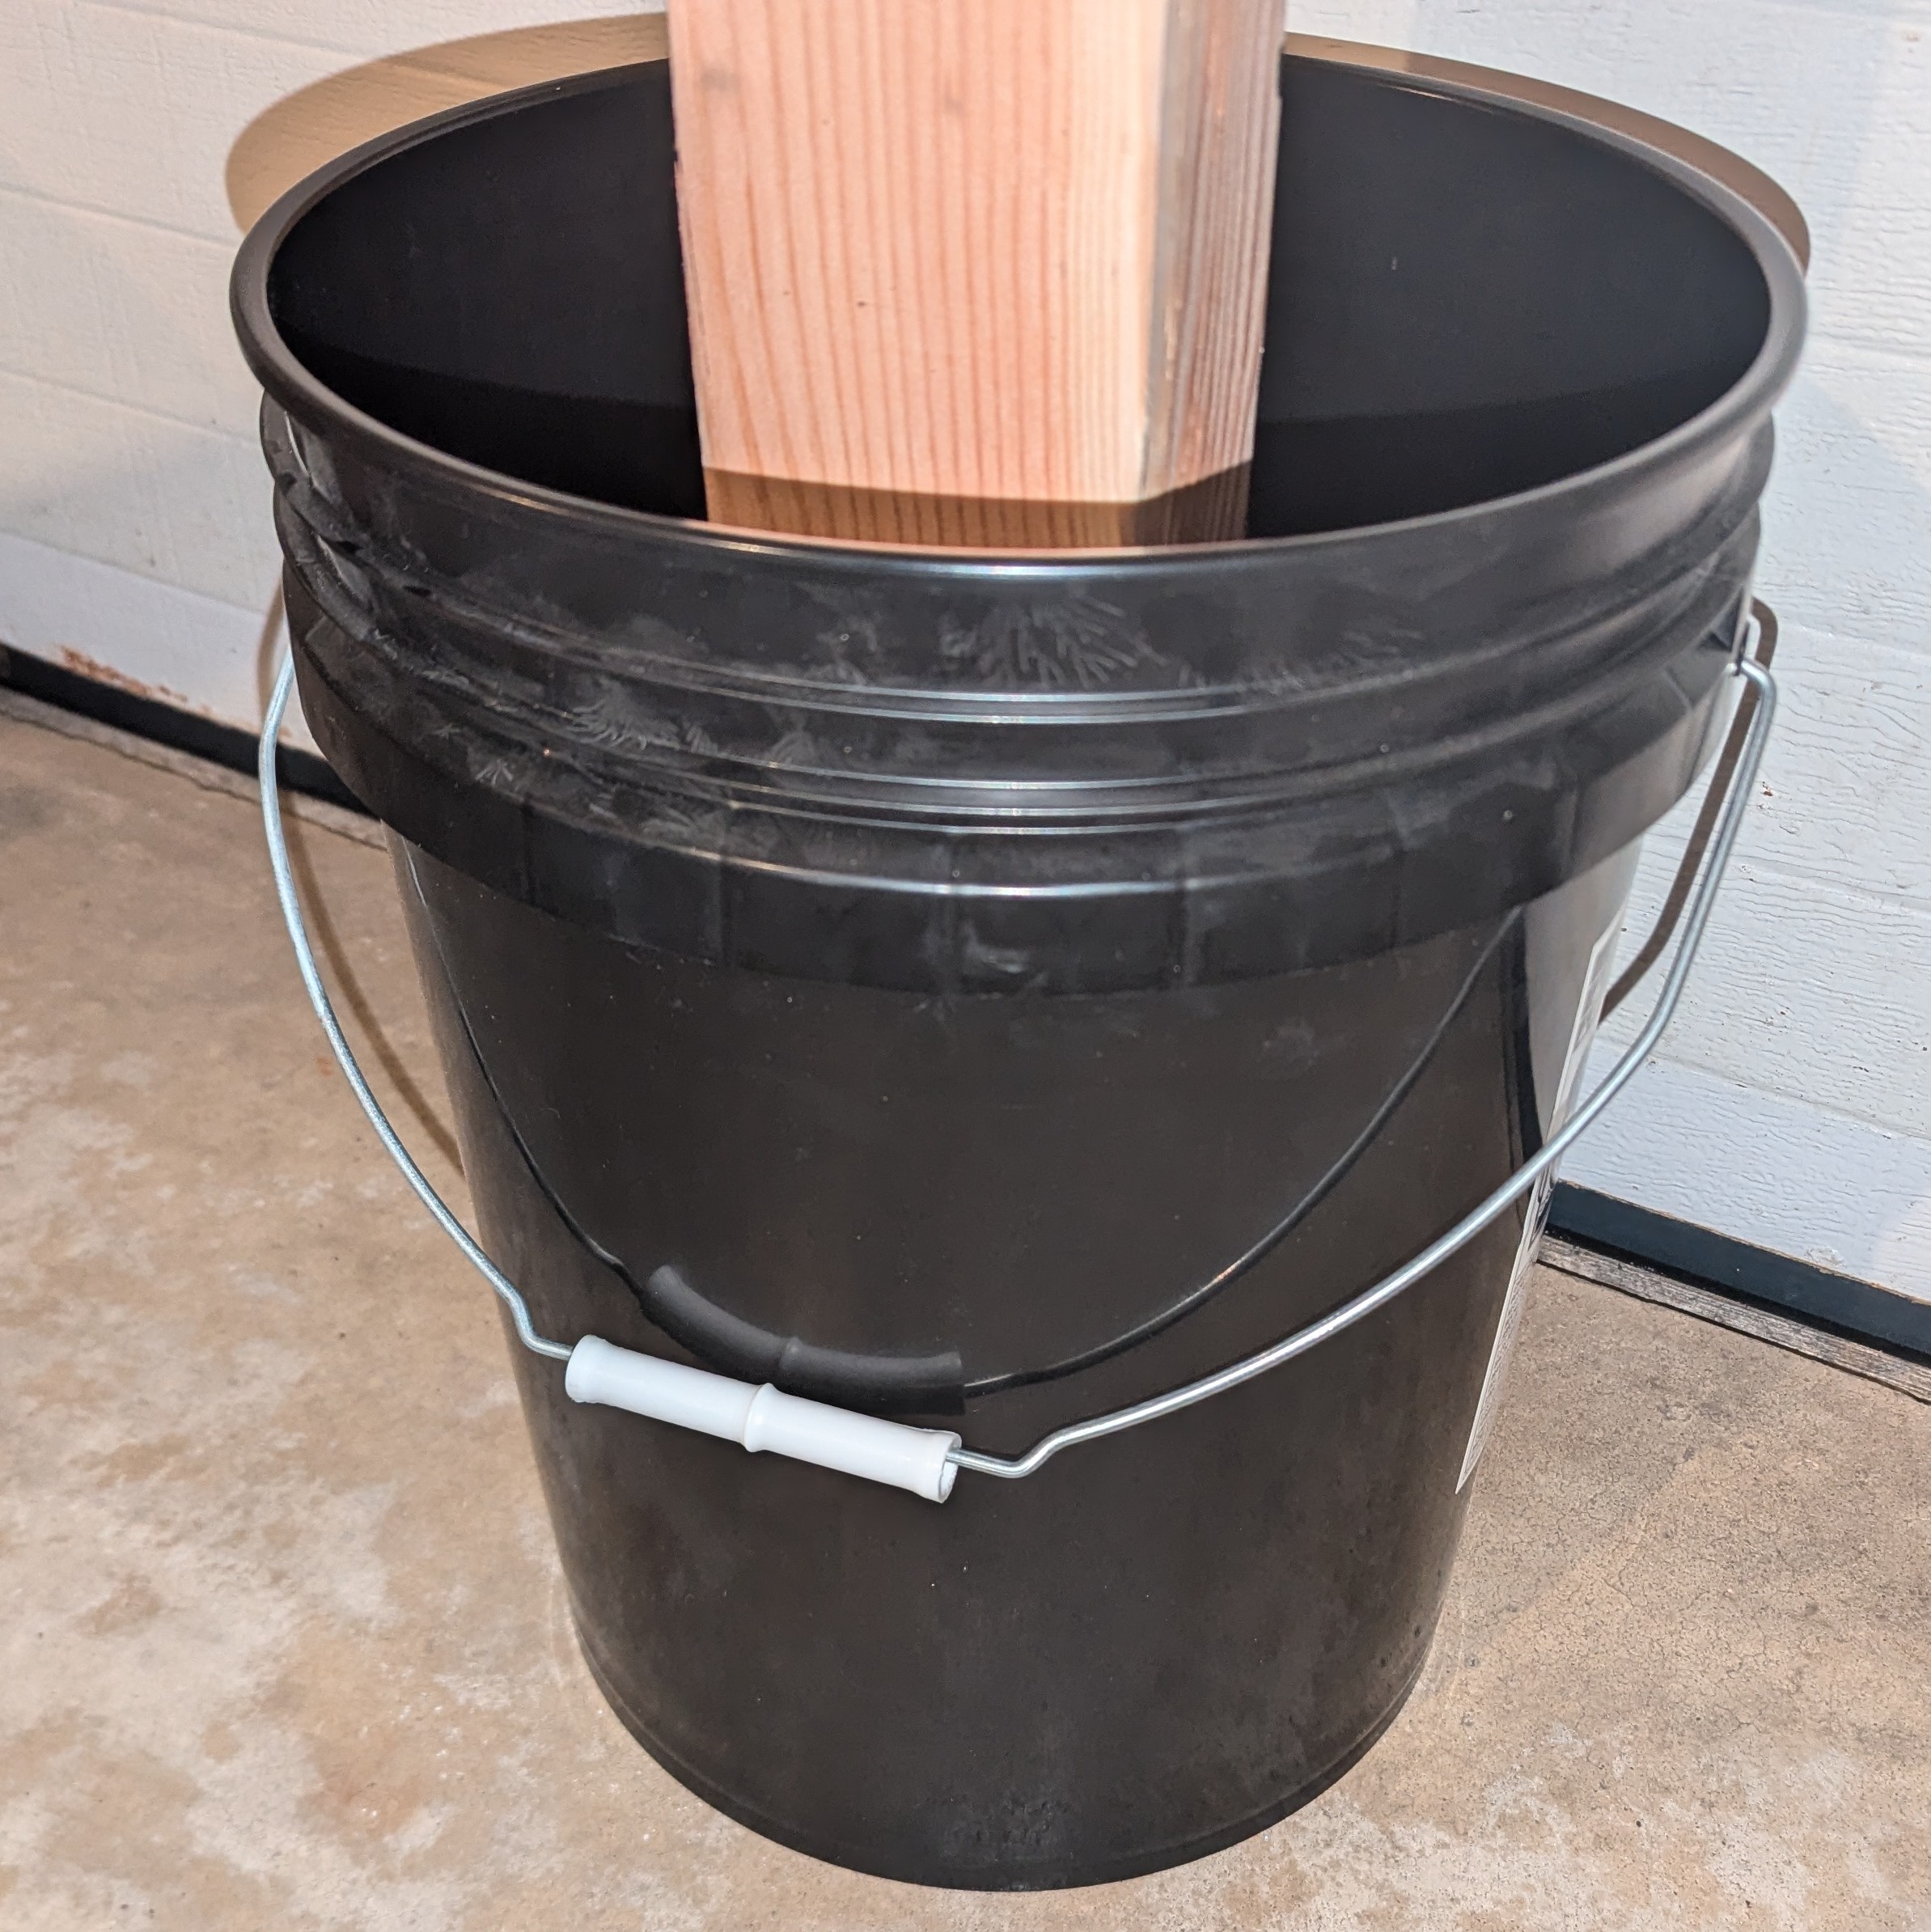
Place your 4x4 into your bucket, in the center
DSS suggest using some scrap wood or other material to ensure the 4x4 is postioned correctly upright in the bucket.
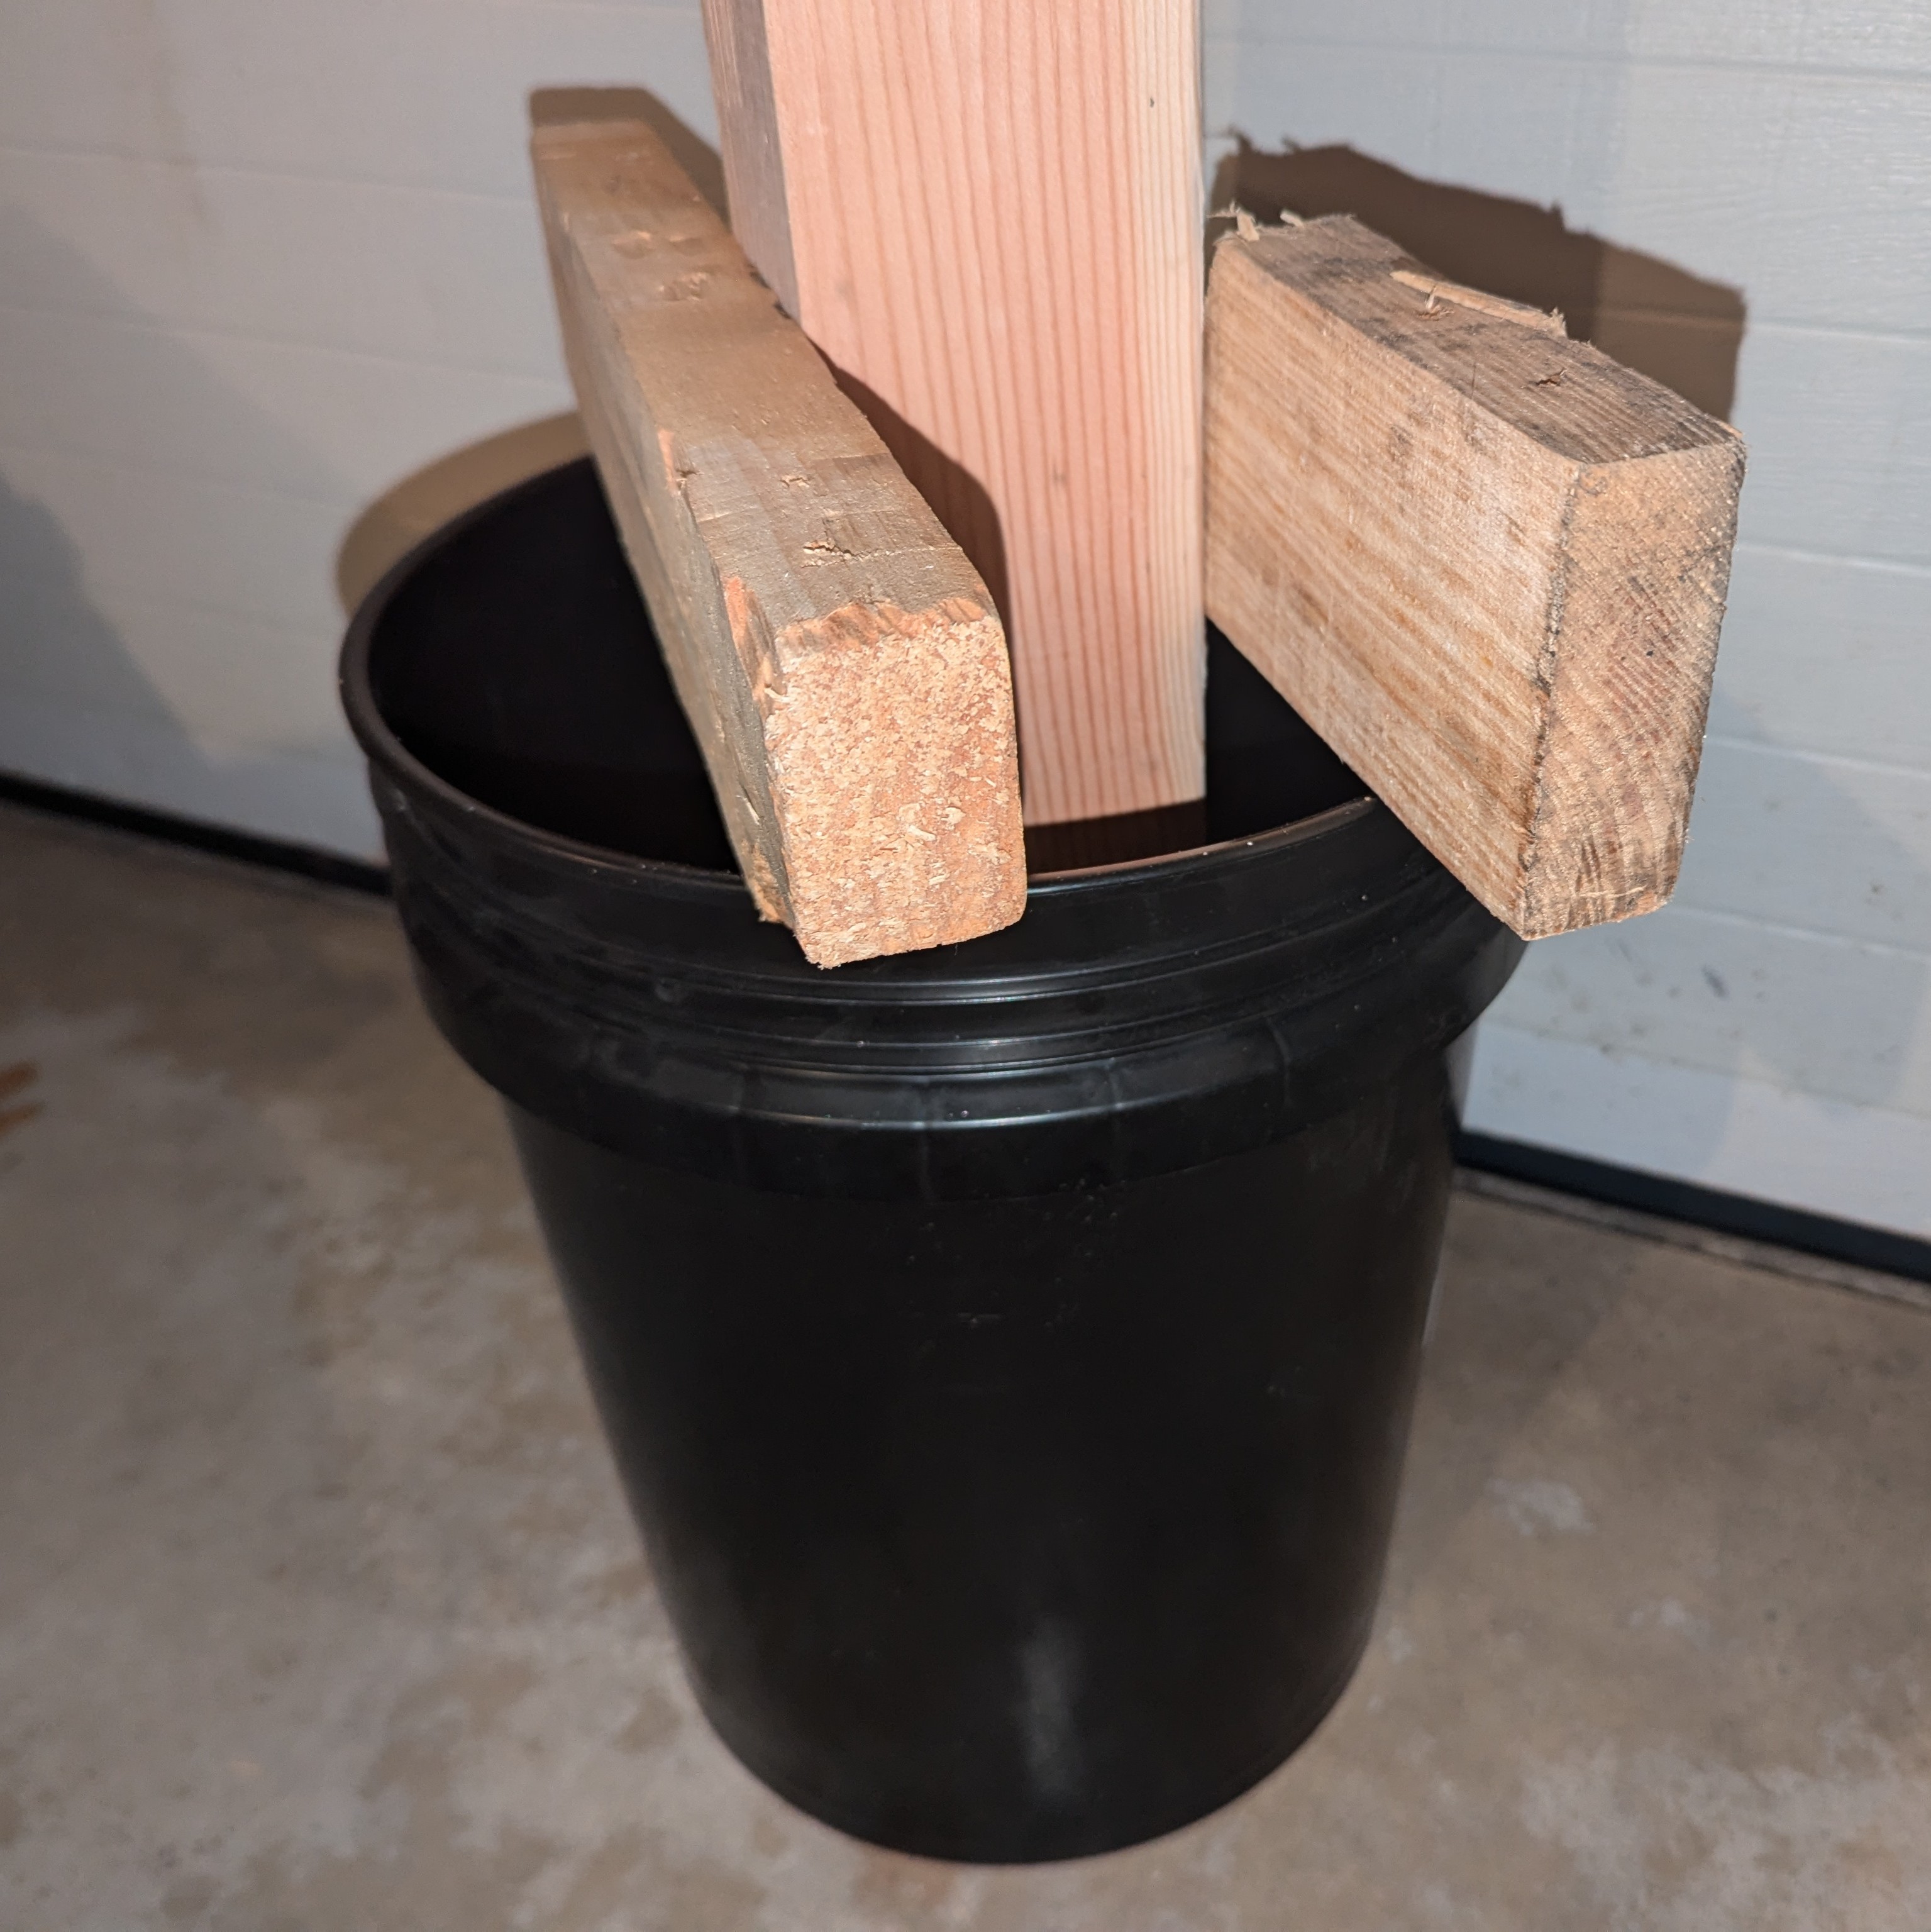
Ensure the 4x4 is positioned correctly in your bucket
👷🏽 Step 3 – Pour Concrete into the Bucket
You will now follow the directons on your specific bag of dry concrete to mix with water. There are basically two different paths to take to complete this step, either of which work perfectly fine:
- You can pour the dry concrete into the bucket, around the 4x4, and then pour water into the bucket and mix it all up
- You can mix the concrete with water outside of the bucket, in another container, and then pour the mix into the bucket with your 4x4
Either way will produce the same product! Ensure you pour 40lbs of concrete into the bucket around the 4x4 wood post. Adding additional concrete (or putting a little too much by accident 😀) will only make the base better for keeping your stand upright.
Once pouring your concrete, let it sit in a ventilated space for 6-8 hours minimum. We recommend letting it sit overnight, or until completely solid.
Your concrete will dry around your 4x4 to produce this hefty base, perfect for keeping your stand upright
🔩 Step 4 - Drill on your NPT Flange
Once your post is held securely in your bucket base, and your concrete is fully dry, it is time to screw your 3/4" NPT Pipe Flange to the top of your 4x4.
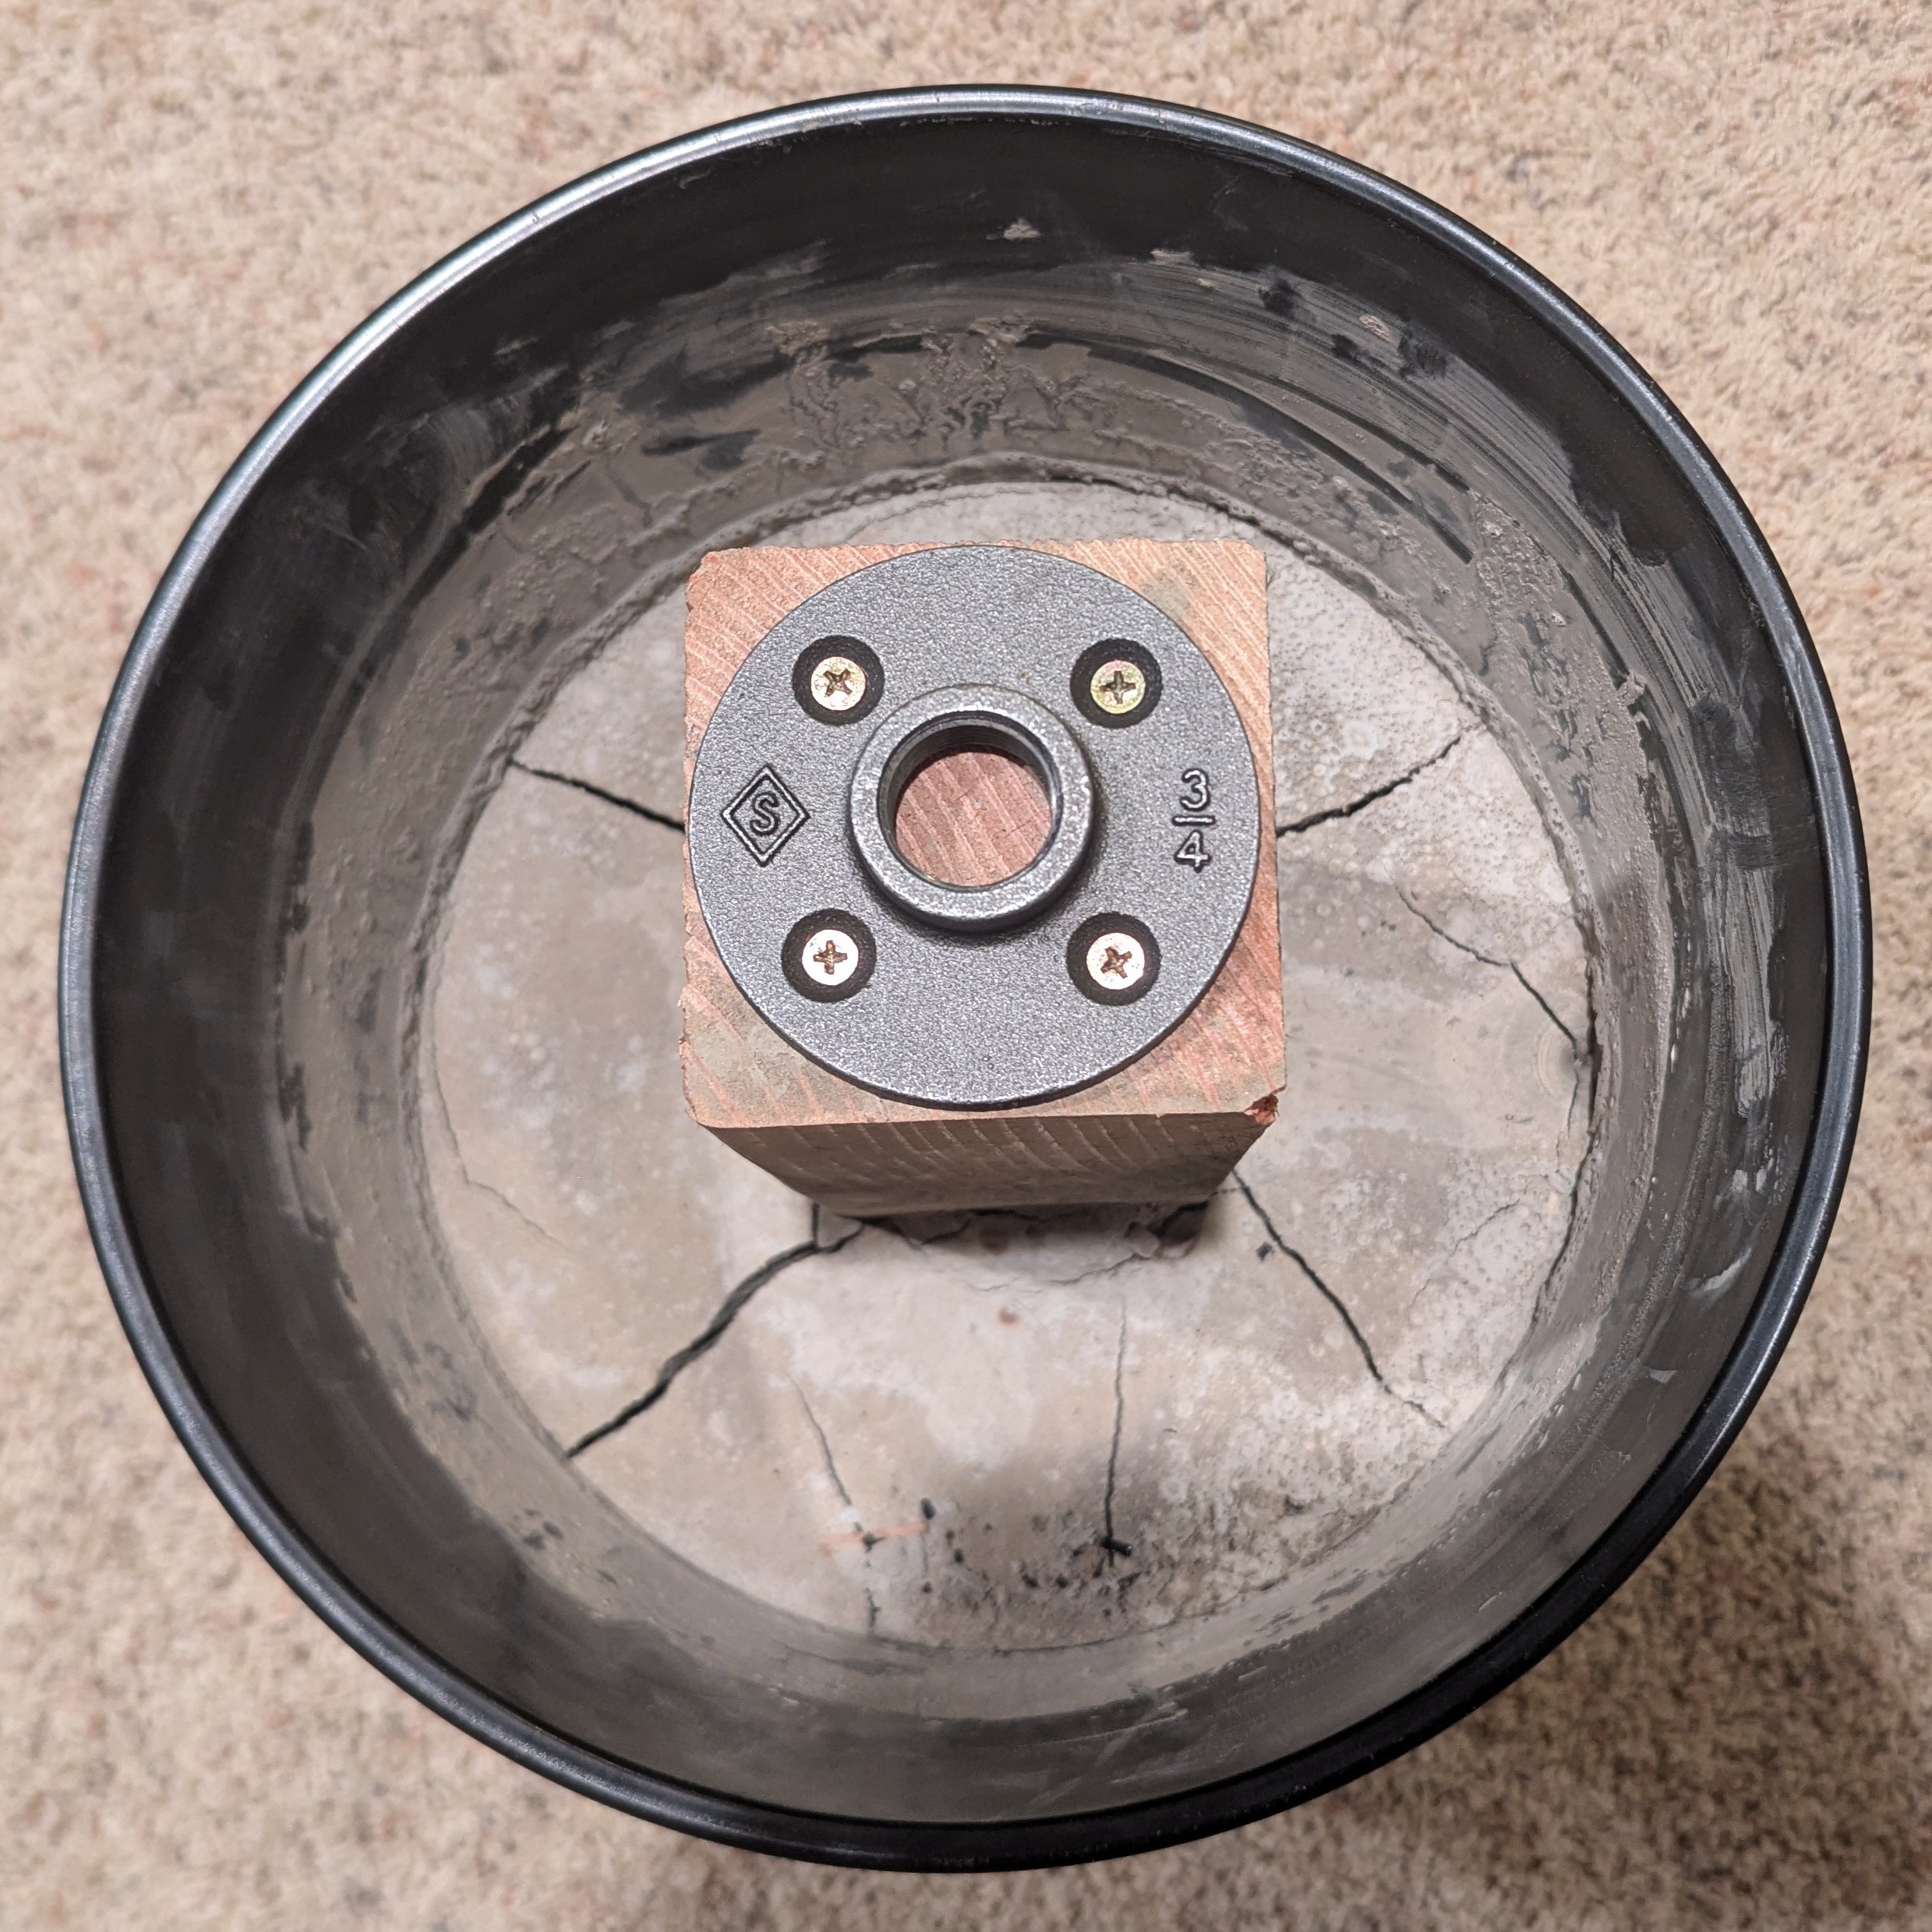
Using your electric drill, use your Wood Deck Screws to attach the flange in the center of the top surface of the 4x4.
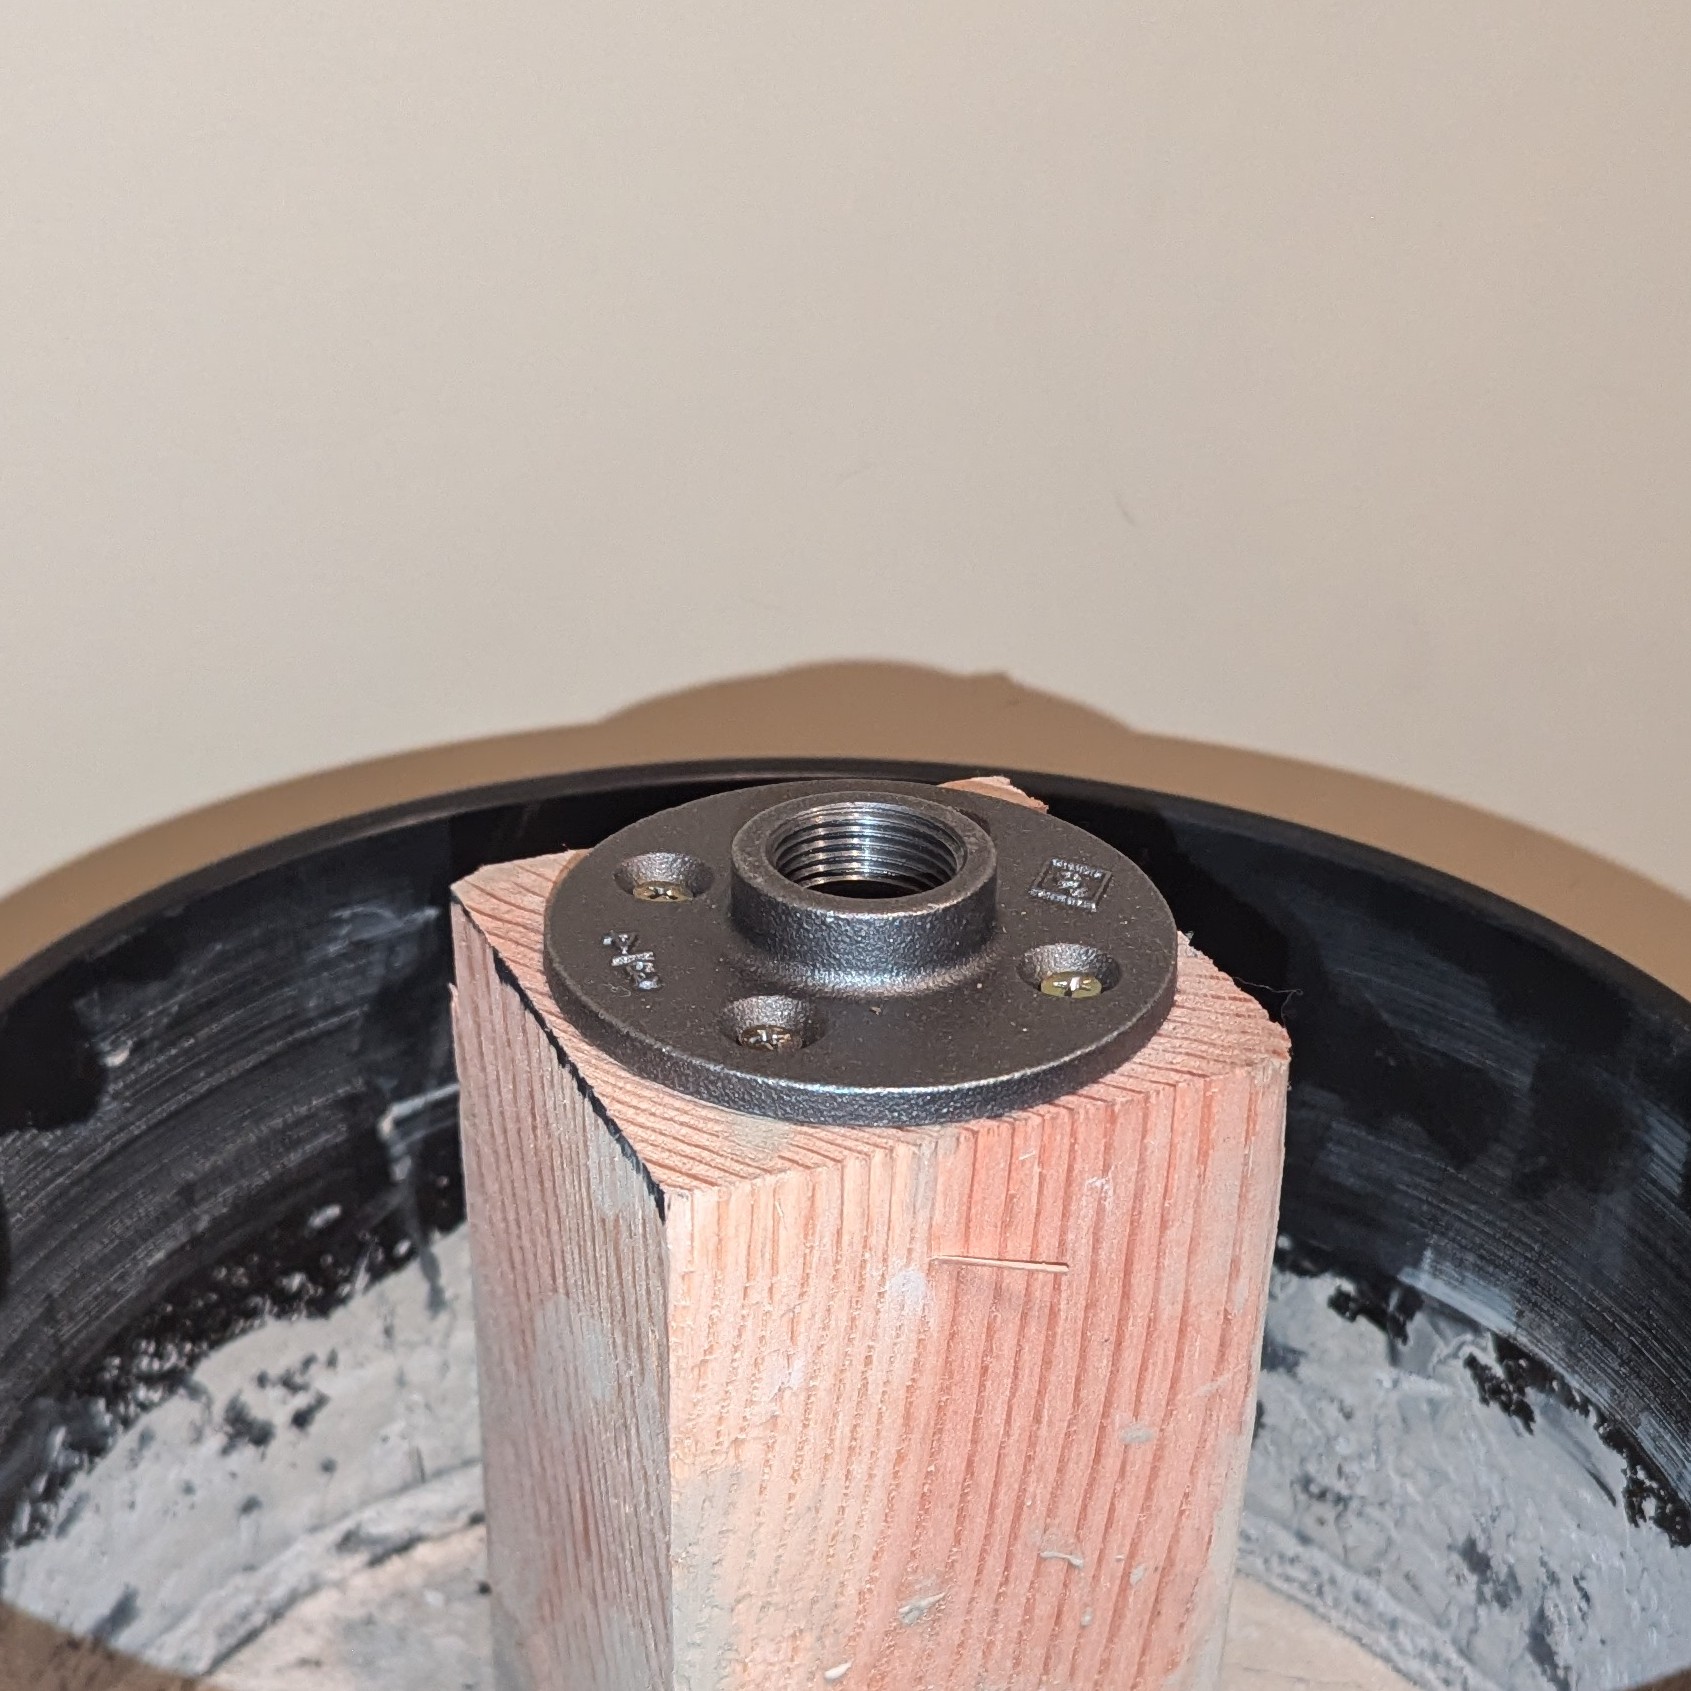
Drill your screws through the flange, into the top of your 4x4
This will create the perfect mounting point for attaching your pipes to the base.
🧱 Step 5 - Setting up the stand
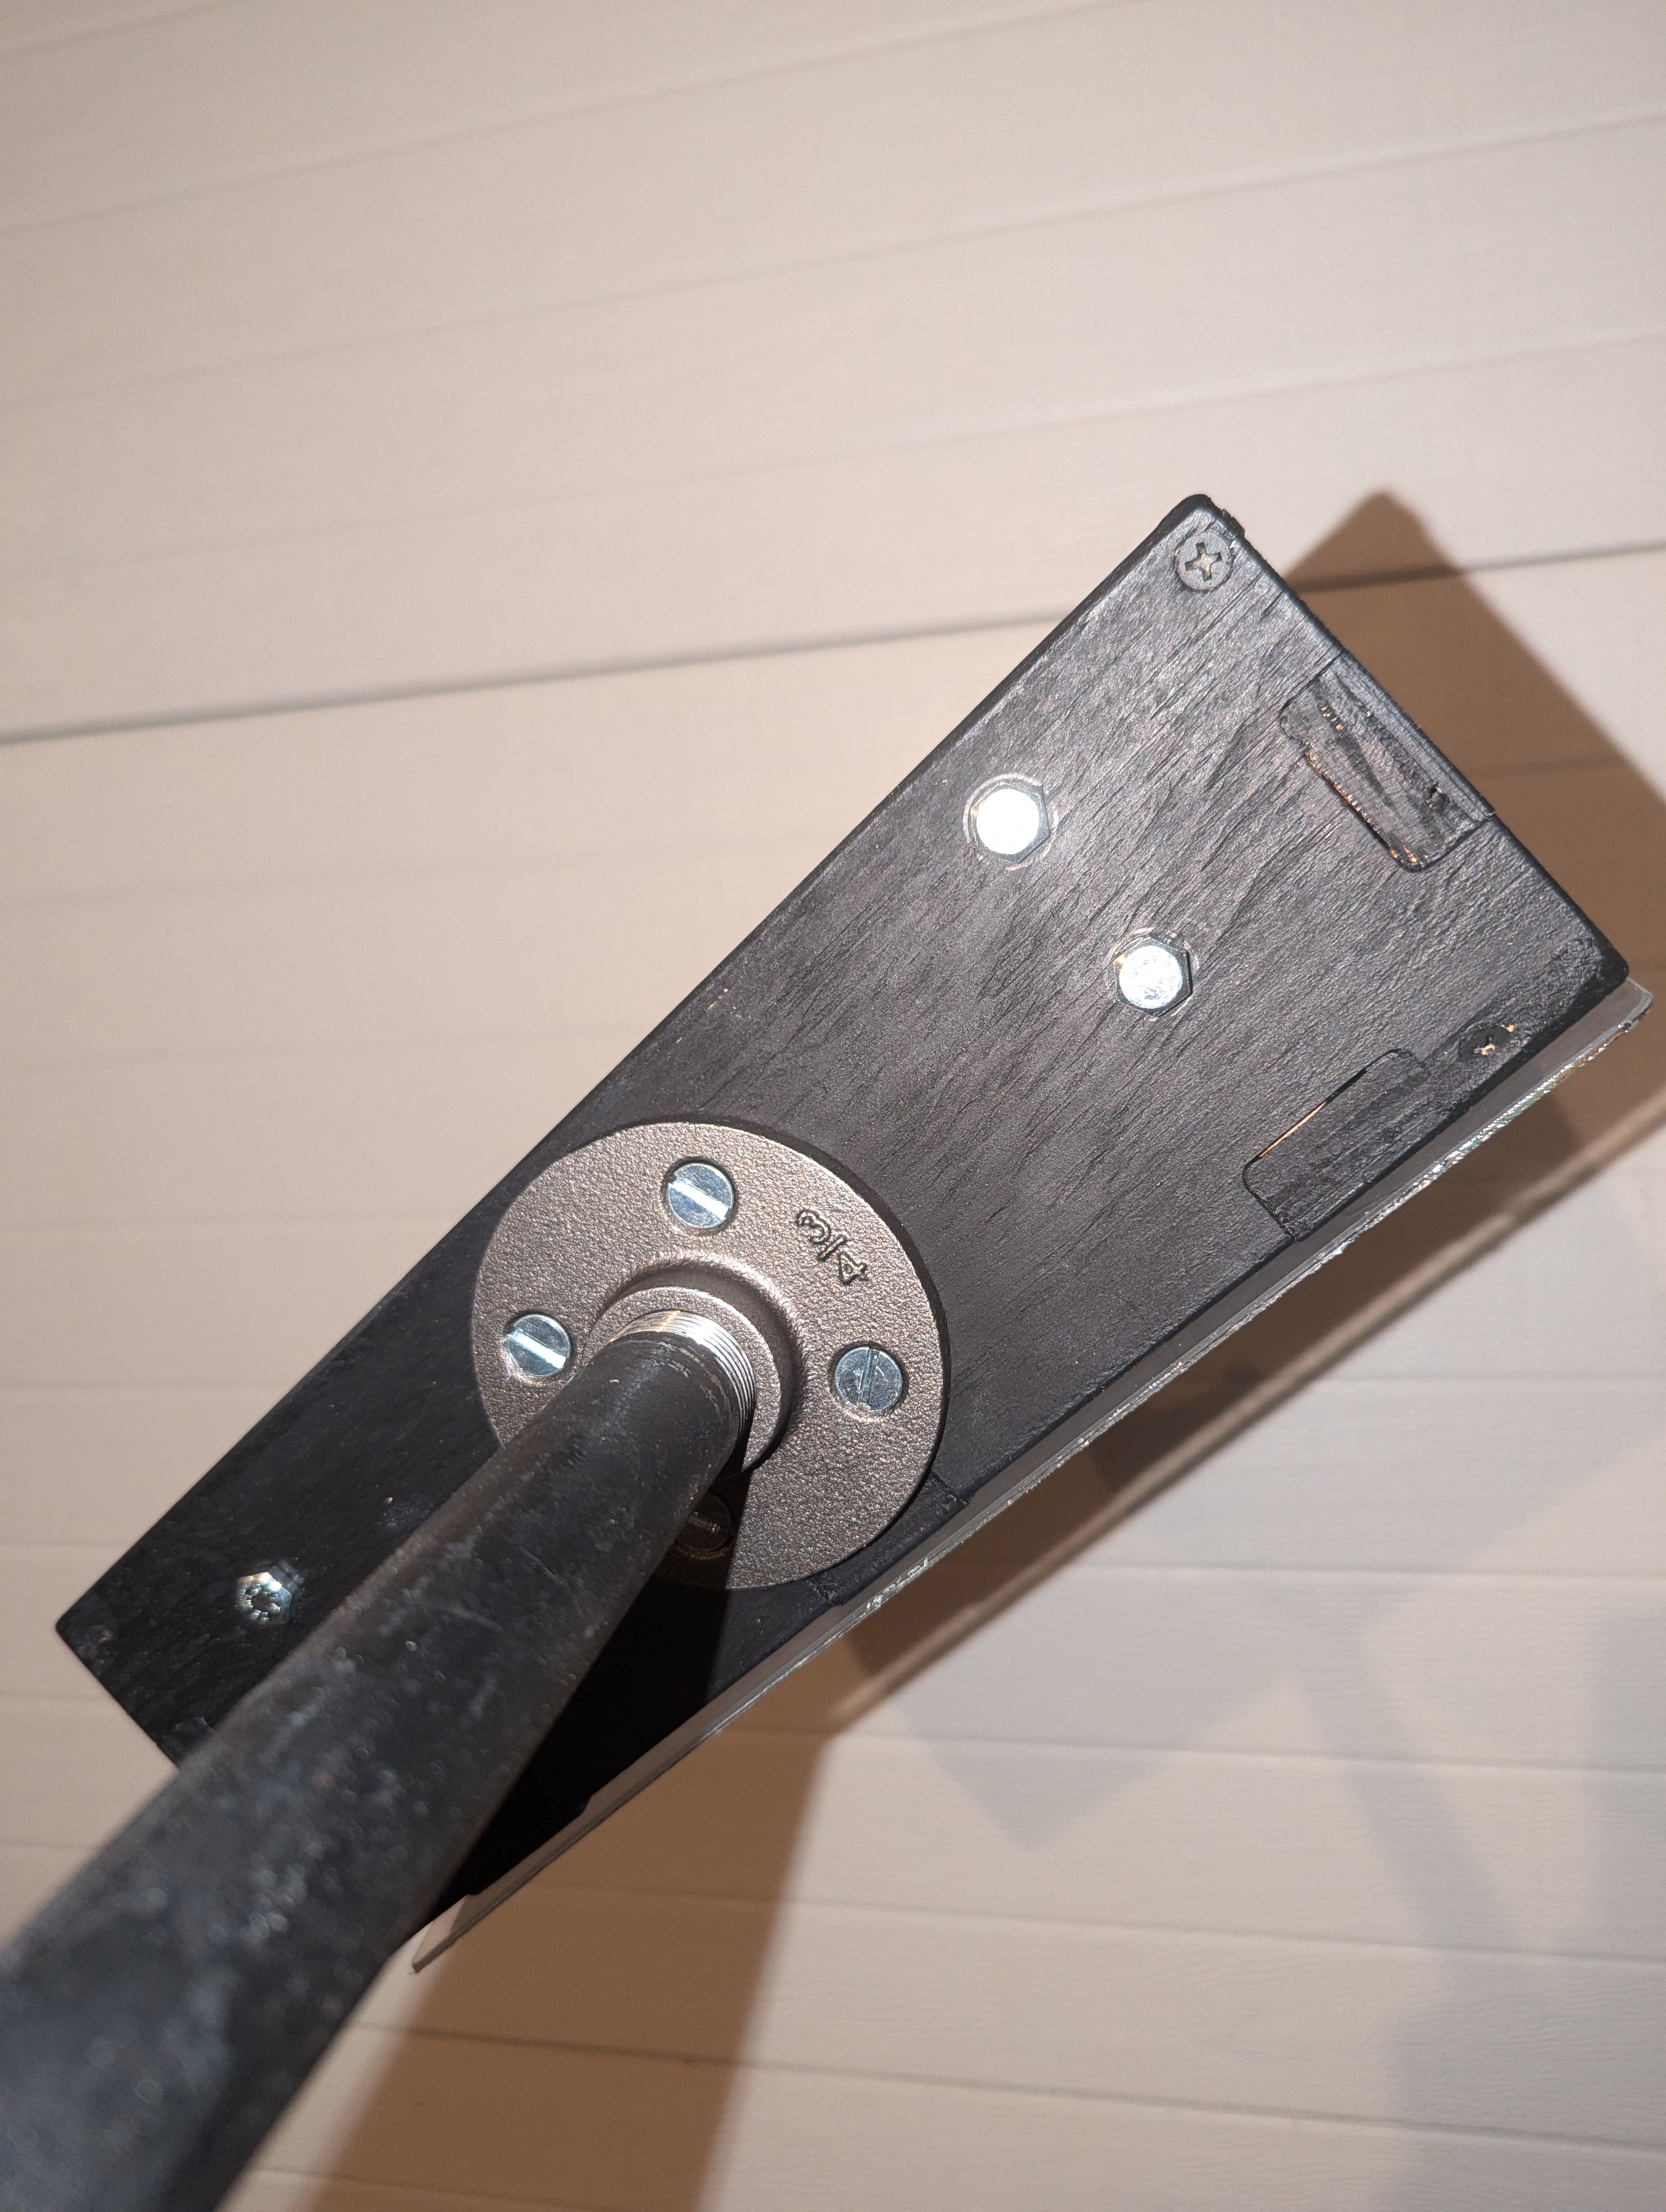
All thats left to do now is screw your 2x 36" ¾" Steel Pipes together with your ¾" Coupling Fitting like such:

Tighten your pipes together, then screw them into your new concrete base
Pro Tip: It may be easier to first attach the shot clock module to the 36" pipe while it’s off the stand, then thread the pipe into the coupler with the unit attached.
Attach the unit to pipe, at the top
✅ Final Check
You have completed the build for the concrete bucket base. This stand provides a reliable way to mount your shot clock modules during high stakes events.
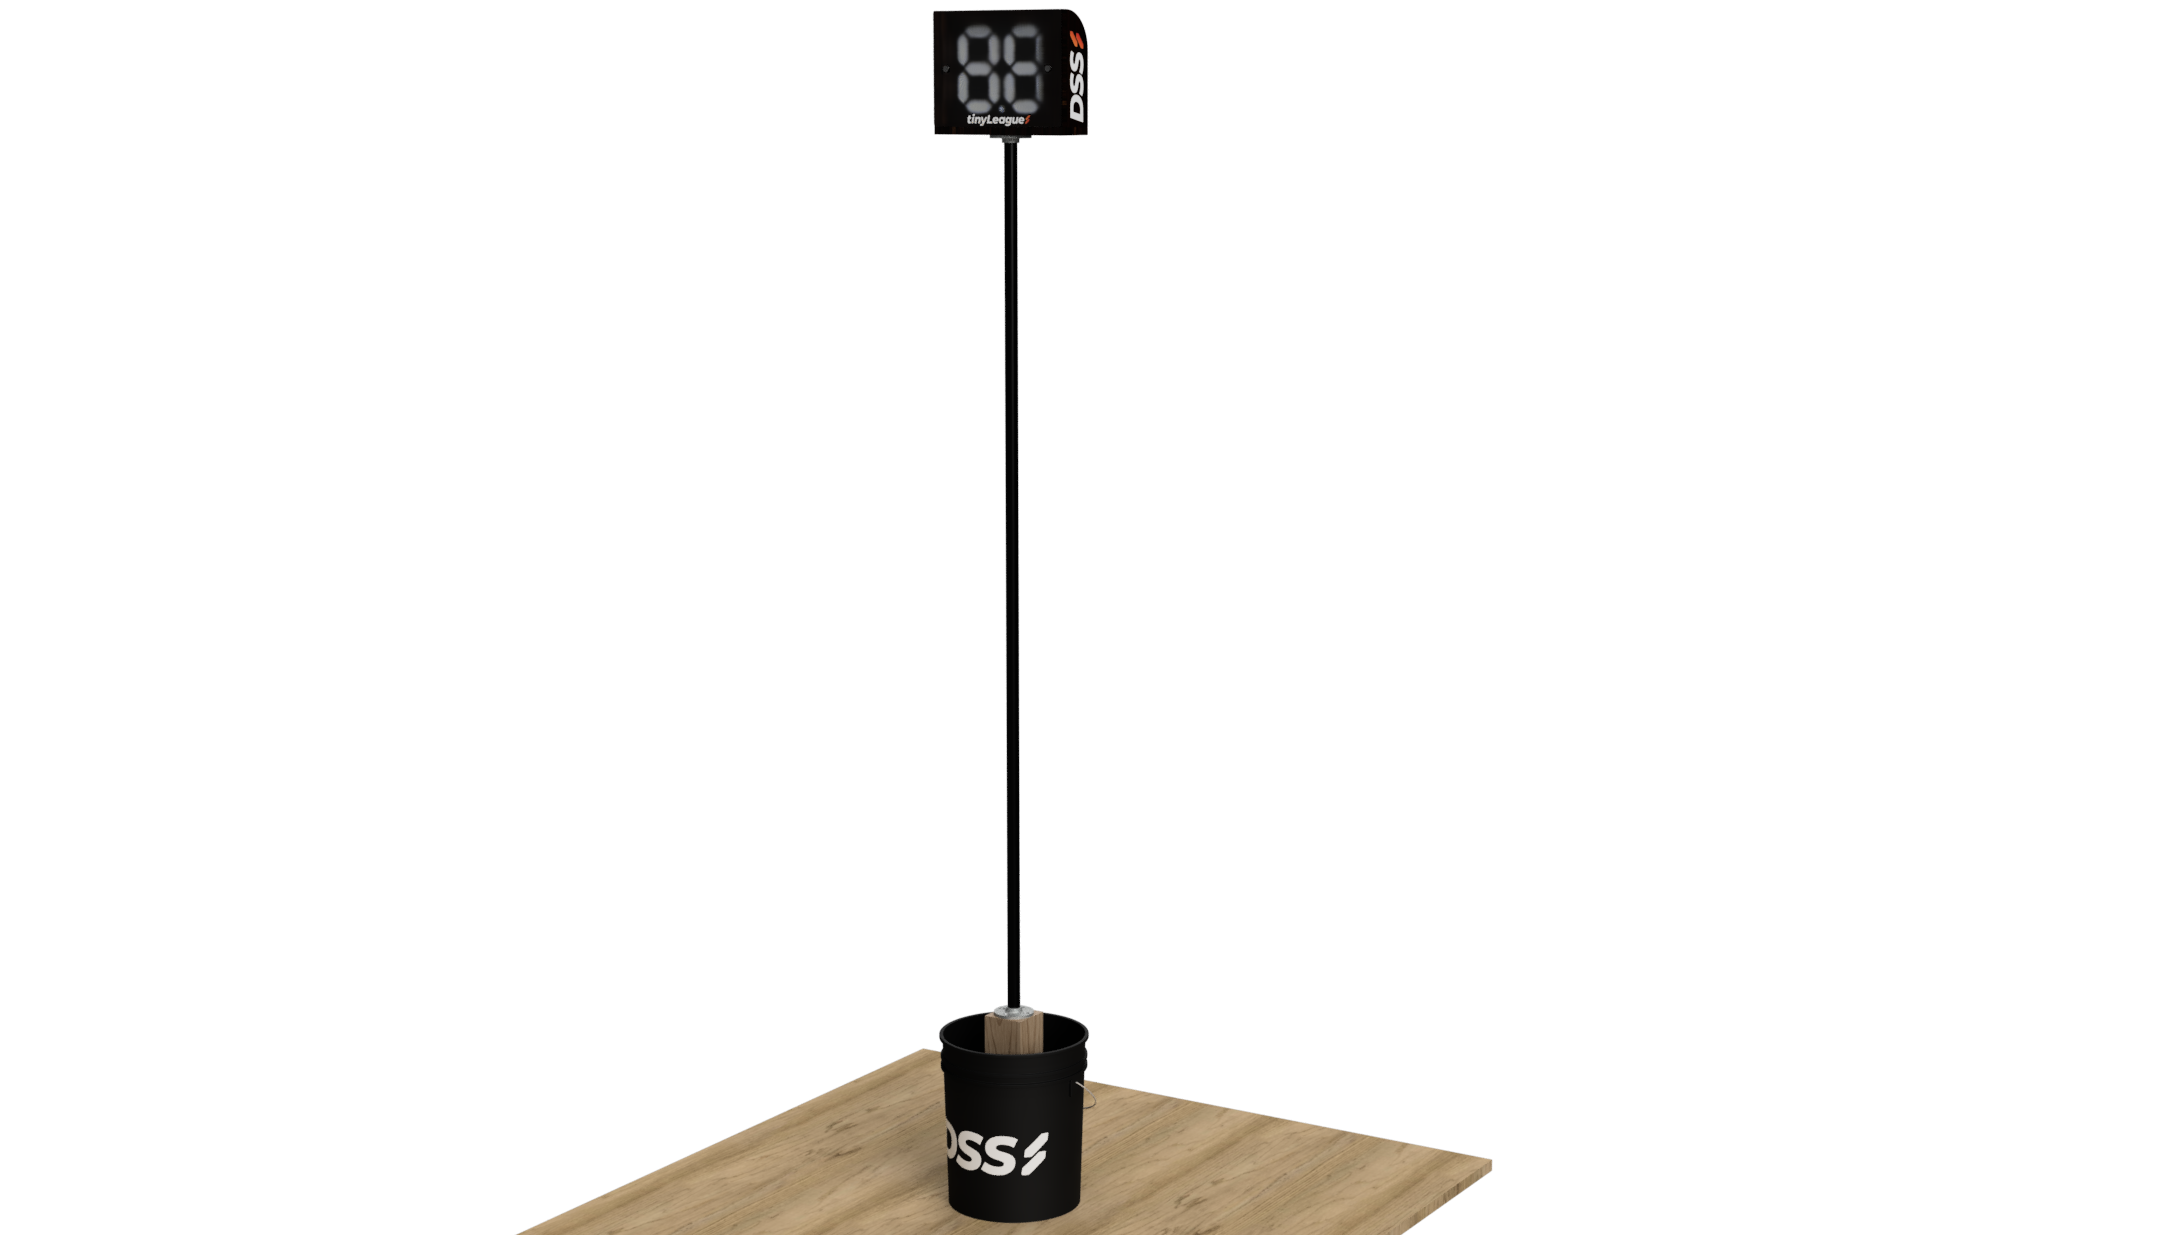
Your new completed concrete base, without a tripod attachment
Ready to build the tripod base attachment for a professional mounting solution for your shot clock modules?
👉 How to Build the Tripod Base
Need help with Bluetooth pairing or app setup?
👉 How to Set Up the Founders Edition
👉 How to Connect to the App