
How to Connect
📶 Connecting to your Module
Follow these steps to get connected and running in minutes!
🔗 Step-by-Step Instructions
-
Open the tinyLeague™ Hub app on your smart device.
-
Tap the Shot Clock Icon in the top left of the screen to access the Connections Menu.
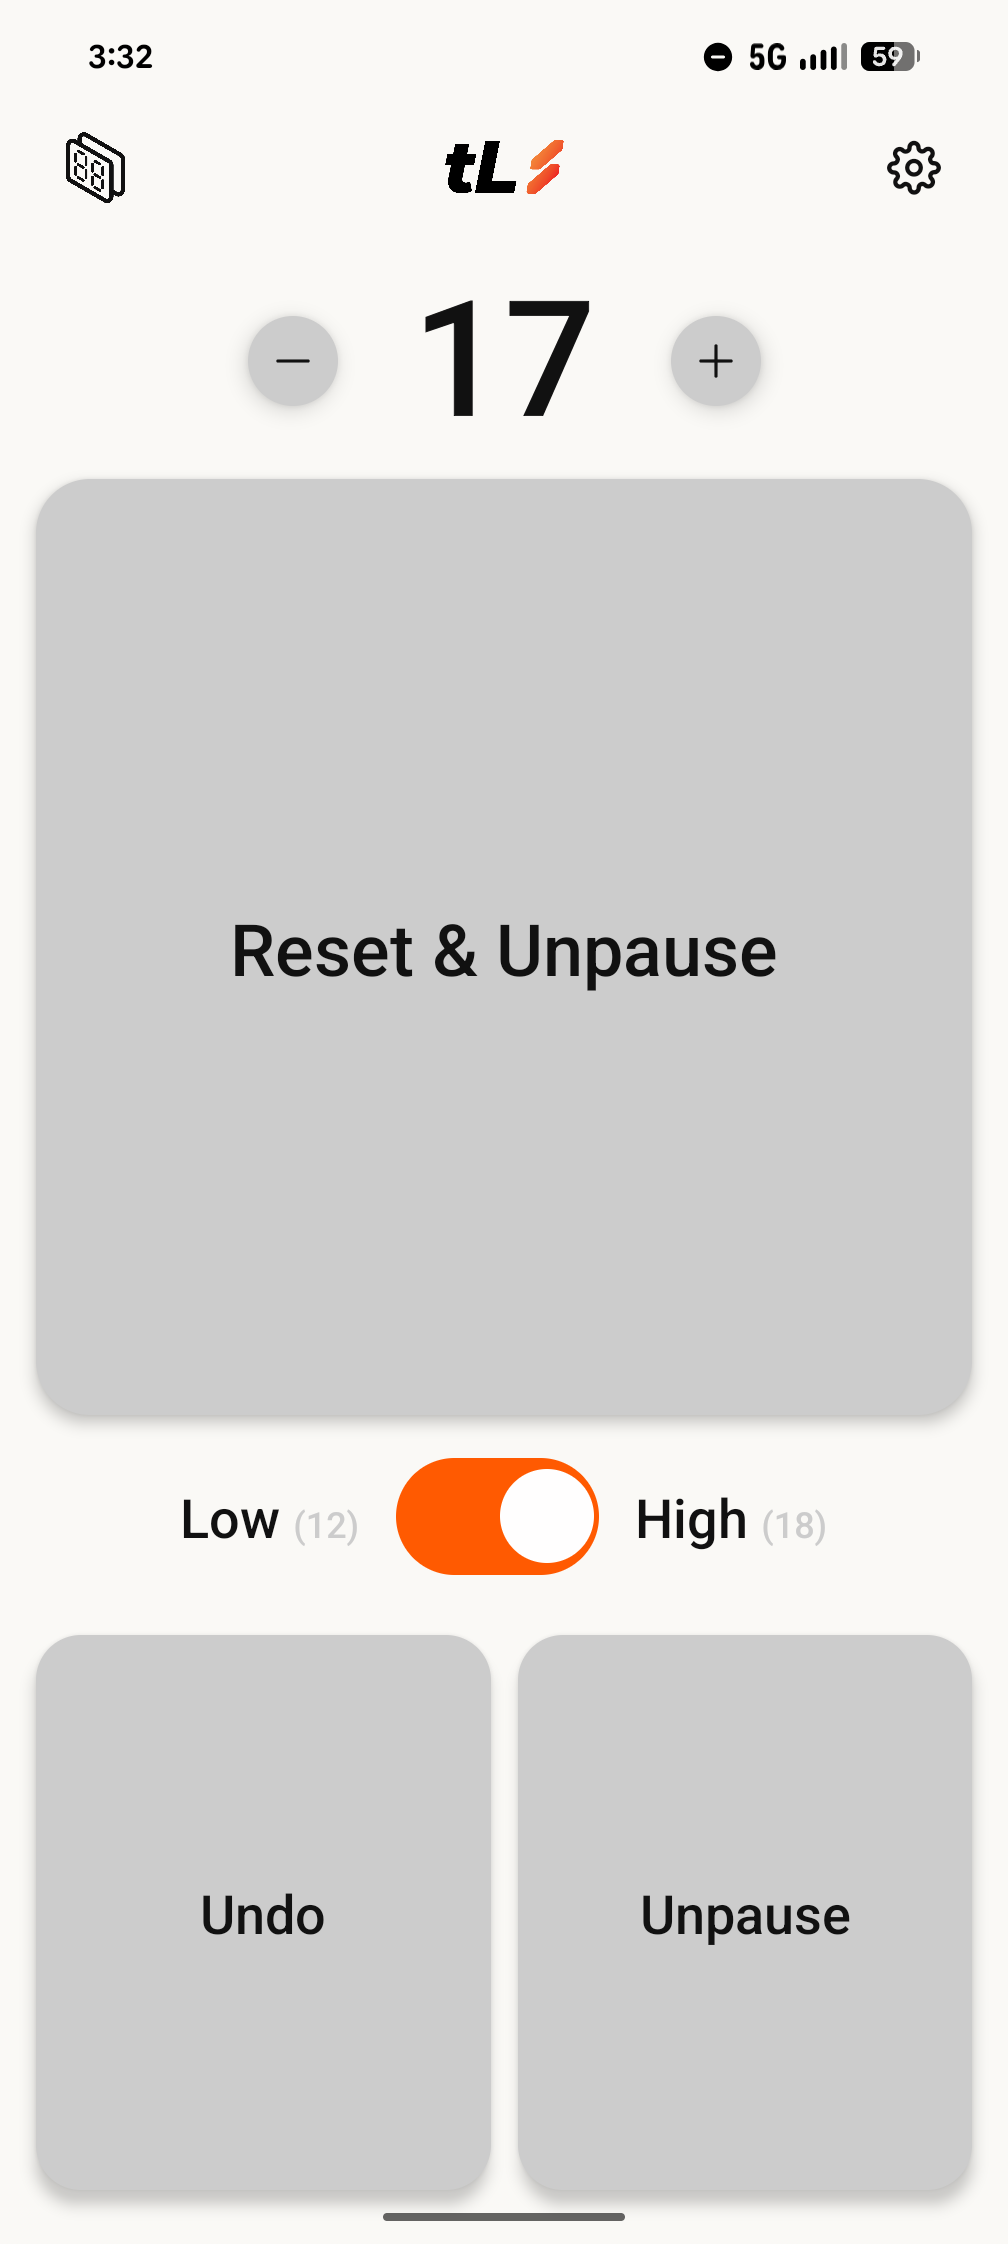
Icon to tap to navigate to the Connections Menu

- Accept any permissions required for the settings by tapping "Allow" on the prompts.
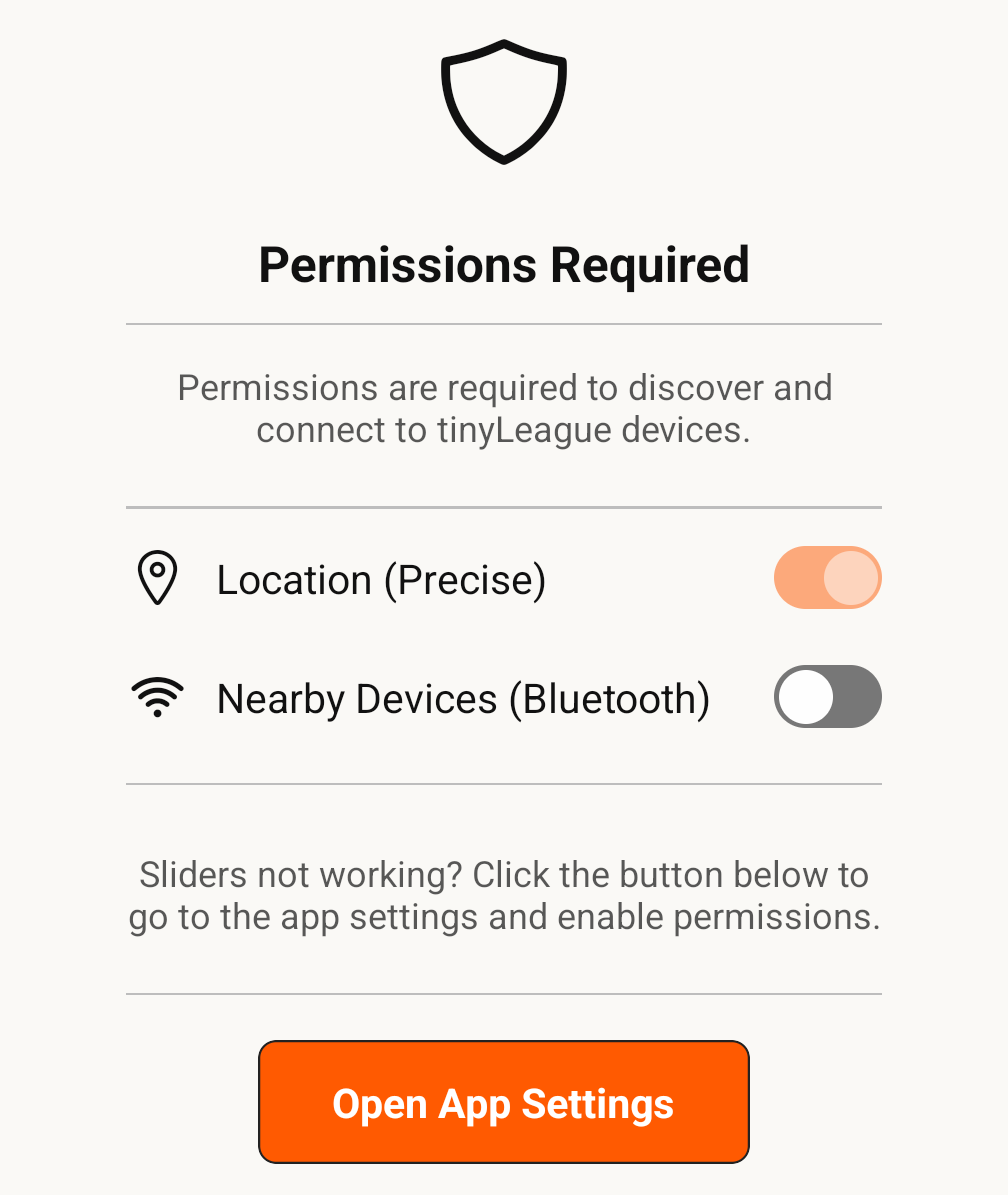
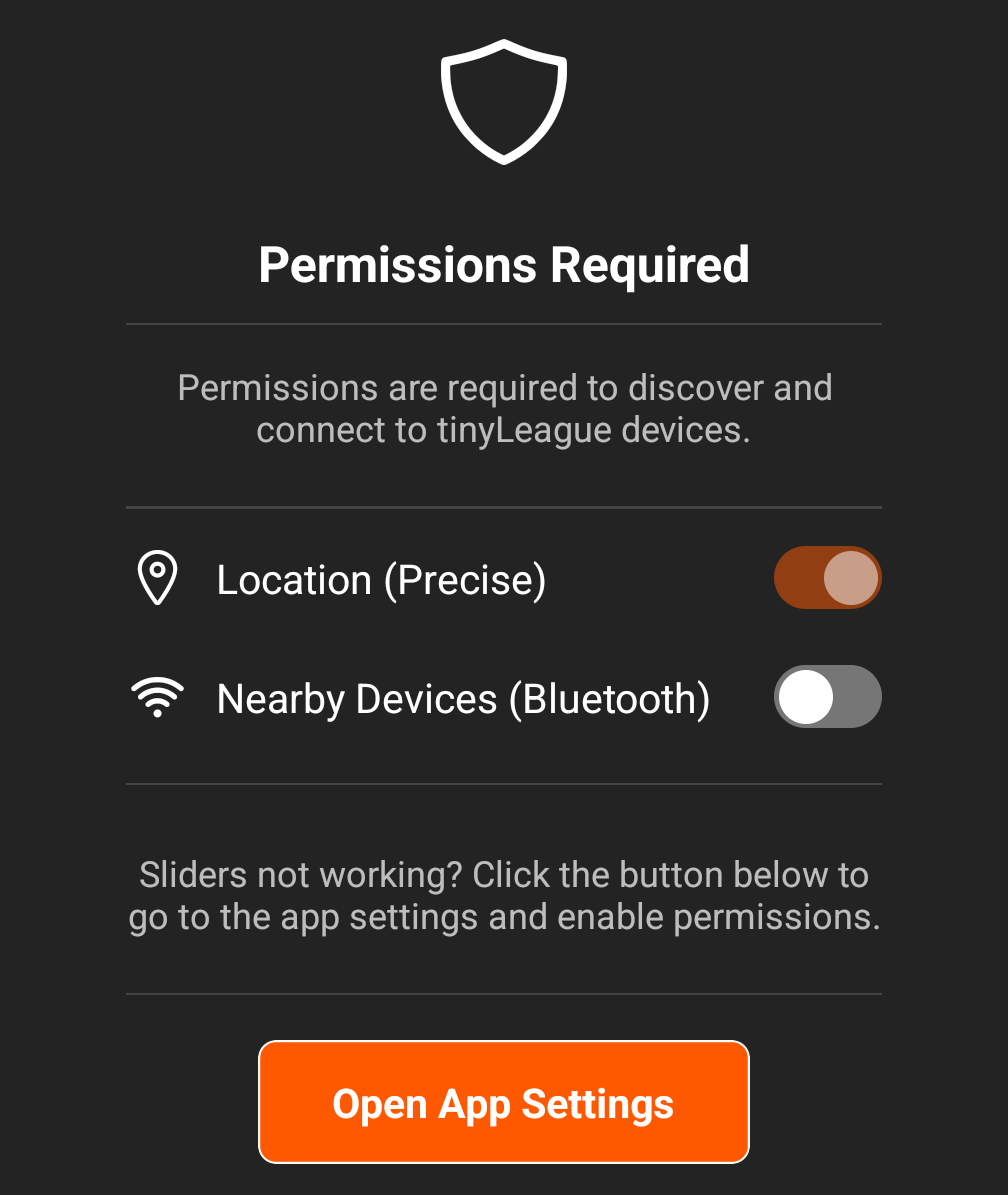
Both toggles must be on
- The app will scan for nearby shot clock modules via BLE. Under Available, tap the ➕ next to Founders, or if you have renamed your device, select your device name from the list.
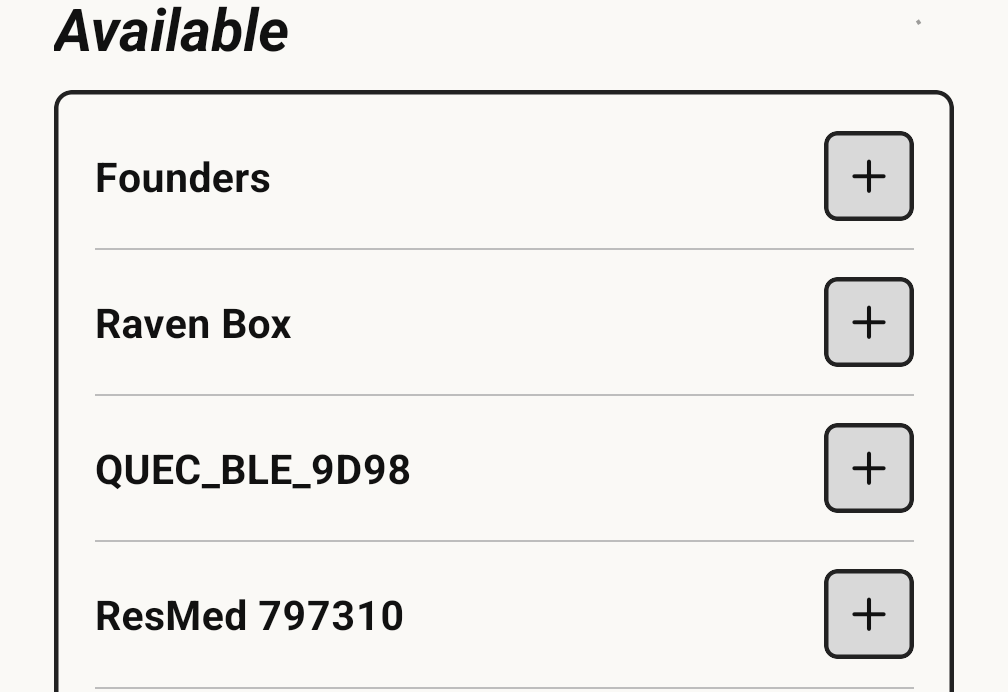
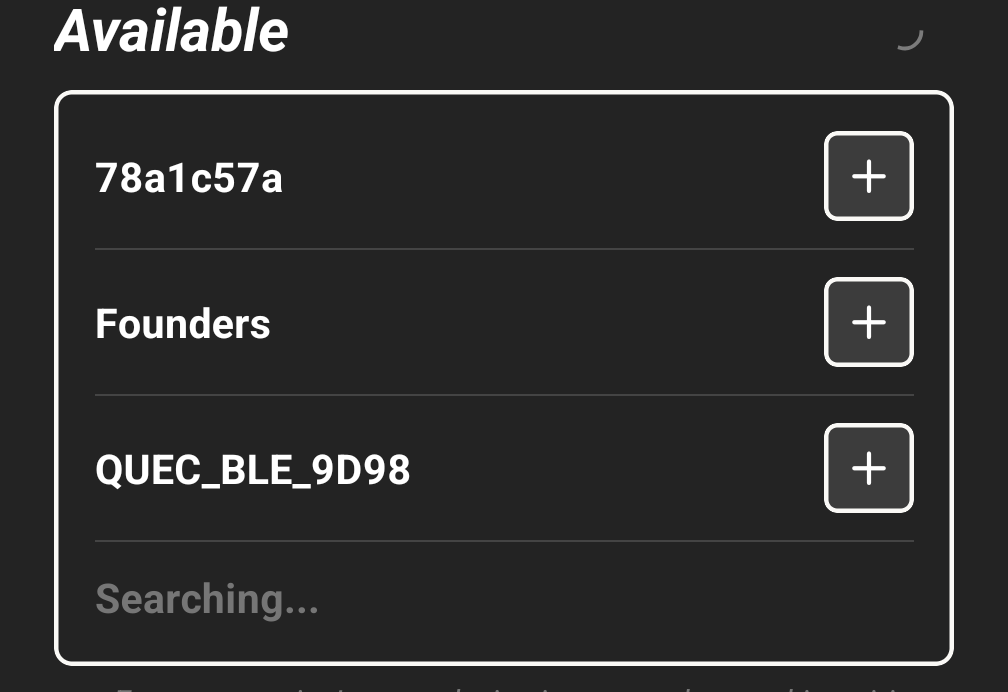
Nearby modules appear under Available, each with a ➕ to connect
If you have previously connected to your module, it will show up under Saved. Tap the ➕ to connect to your device.
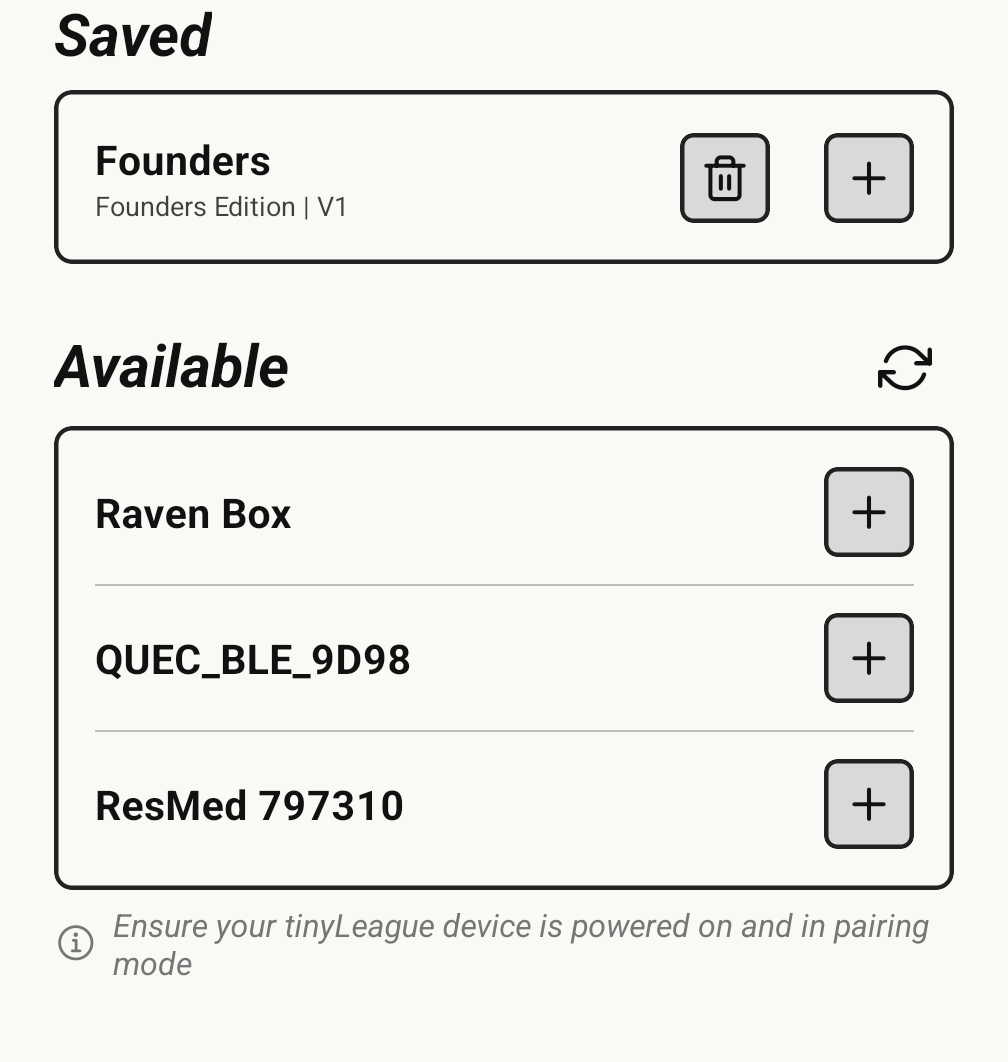
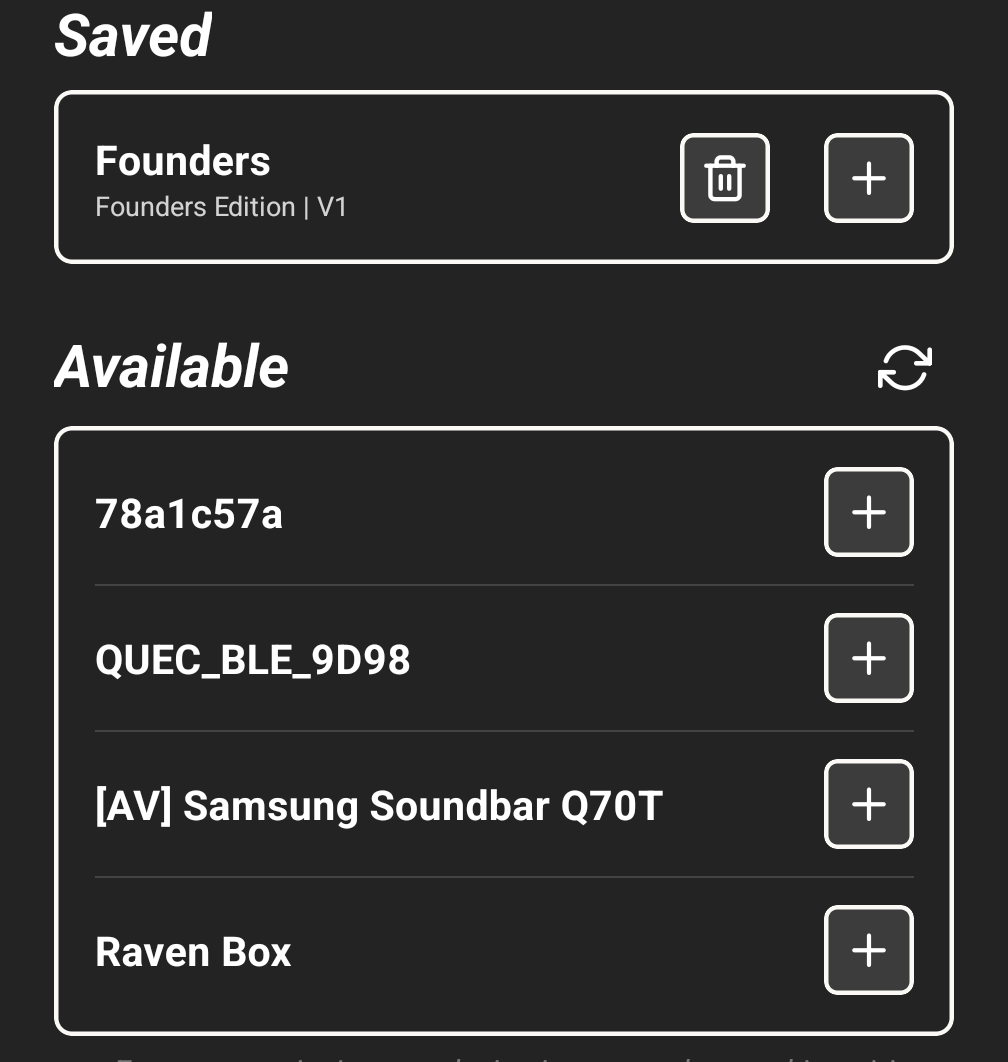
A previously connected module sits under Saved, with 🗑 and ➕ beside it
✅ Make sure your unit is powered on and ready to be connected.
- Wait for the BLE connection to be established. If the connection is not established, re-select your device to try again.
- Once connected, your device moves to the Paired section at the top of the Connections Menu. Tapping the ⚙ icon will take you to your Device Settings.
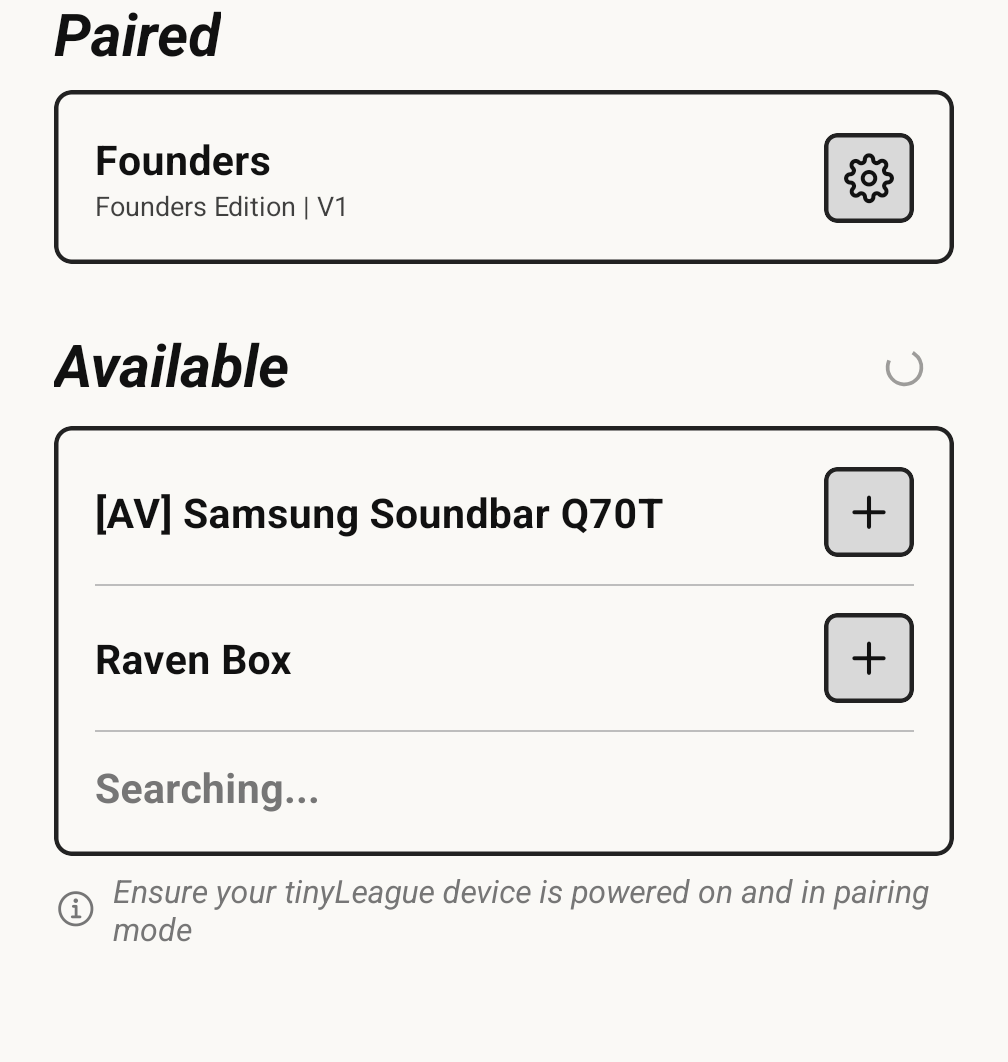
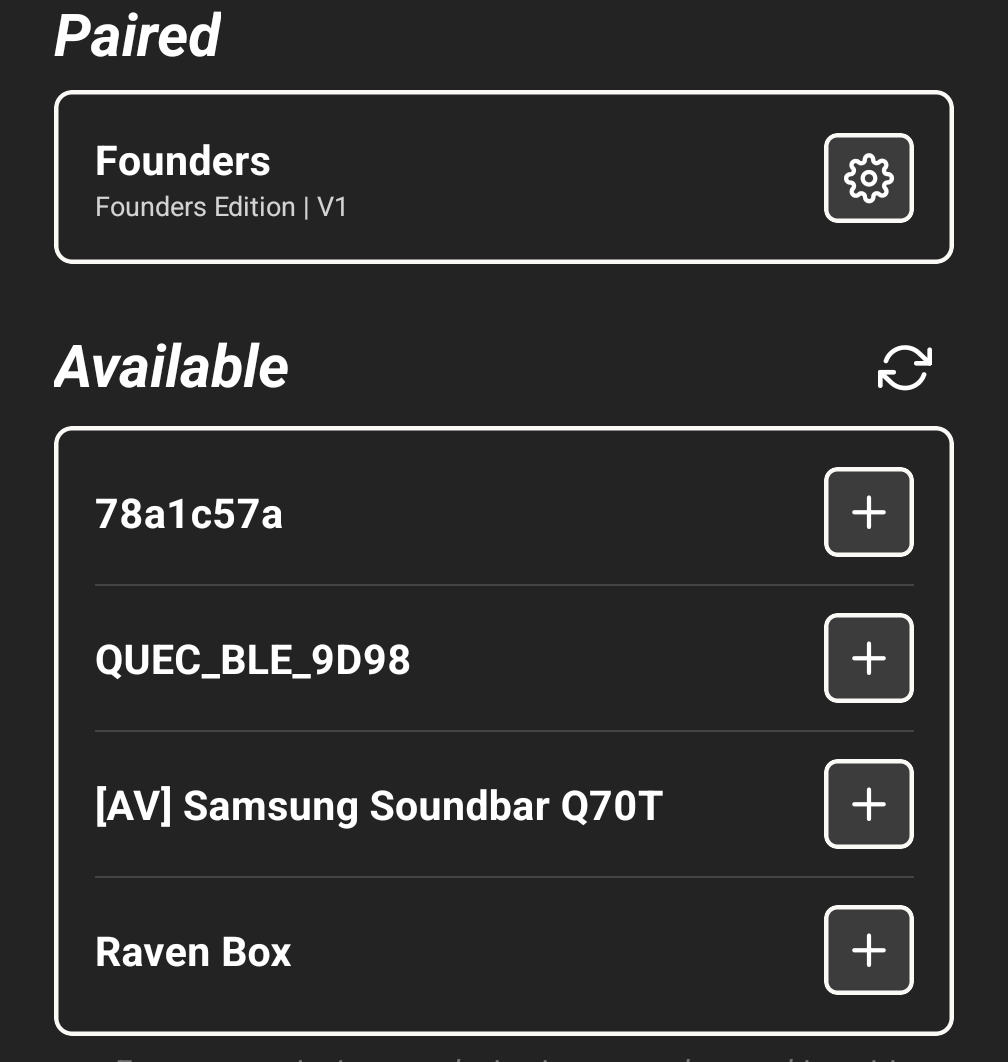
A connected device sits under Paired, with the ⚙ icon replacing the ➕
📶 Required Permissions
To ensure a successful connection, the app may prompt you to grant the following:
- Bluetooth Access – To scan and connect with nearby devices.
- Nearby Devices Permission – Required for Bluetooth discovery on iOS and Android 12+.
- Location Permission – Required by iOS and Android for Bluetooth device scanning.
🔐 We do not collect or store your location. This is purely required by the Bluetooth APIs.
🛠 Troubleshooting
- Device not showing up? Ensure your unit is powered on and nearby.
- Not connecting? Try restarting your module and the app.
- Still having issues? Visit our Troubleshooting and FAQ sections for further support.