Step-By-Step Build Guide
🛠 Step-by-Step Build Guide
This guide walks you through assembling the Recommended Shot Clock Stand. It’s quick, tool-free, and travel-friendly — just gather your components and follow each step below.
✅ Step 1 – Gather Your Components
Make sure you have everything before starting:
- Umbrella base
- ¾" TPU adapter (3D printed)
- ¾" coupling fitting
- 2x 3 ft (36") steel pipes
- Founders Edition shot clock module
Be sure to 3D print your adapter using TPU filament.
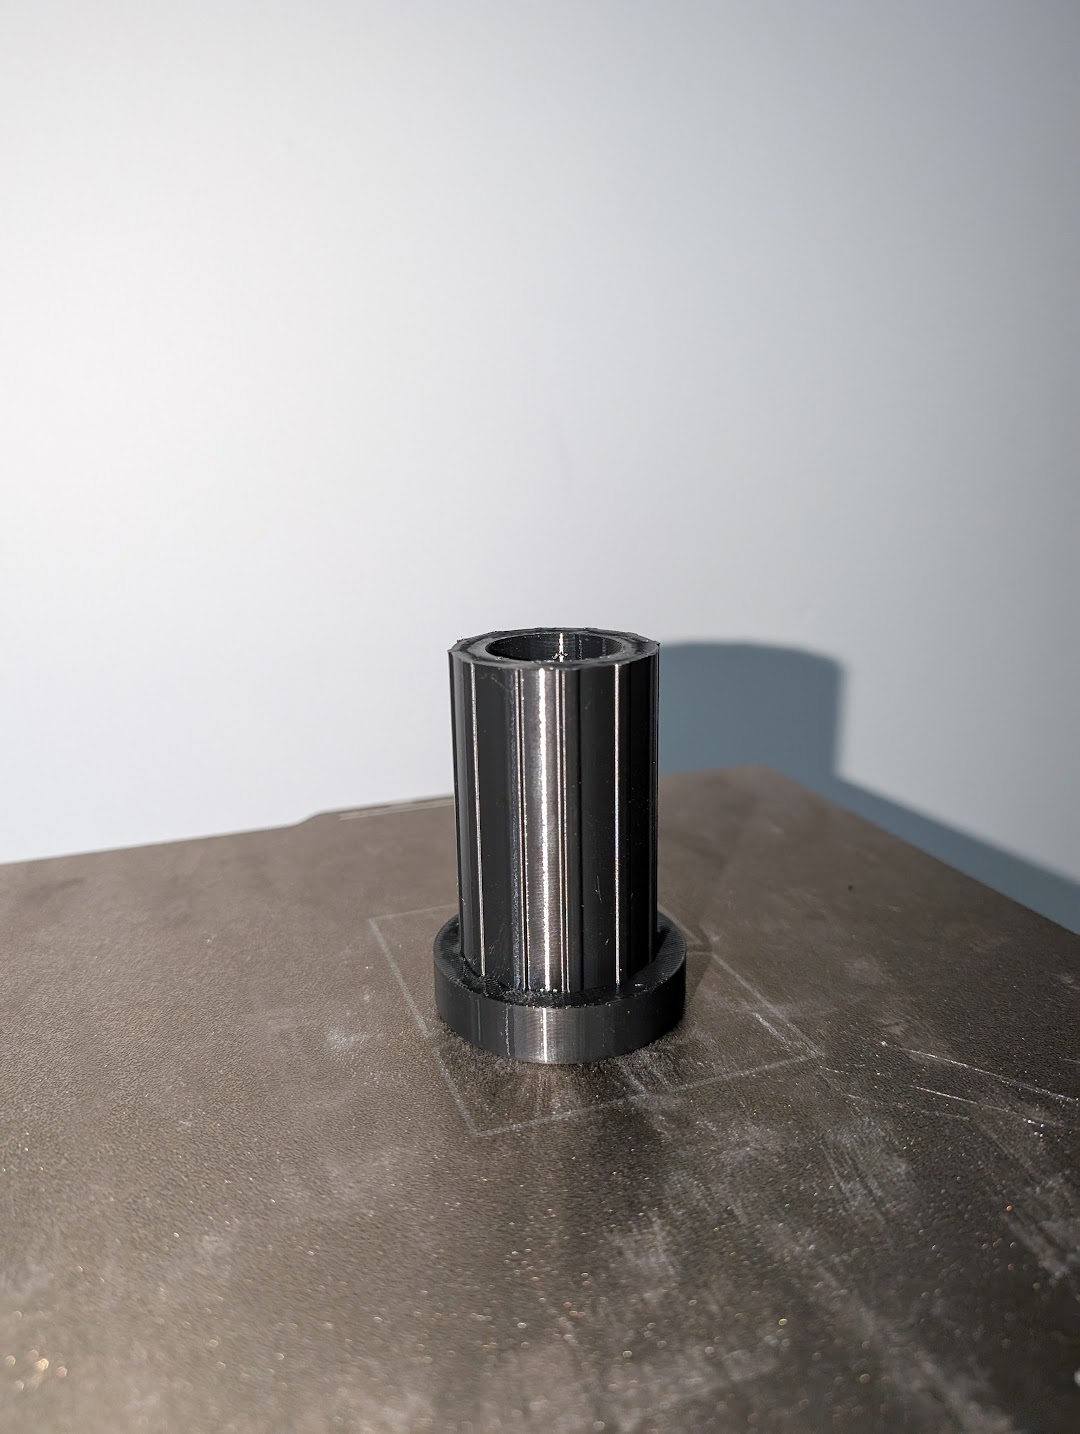
A TPU adapter, ready for use
🧩 Step 2 – Insert TPU Adapter into Base
Push the 3D-printed TPU adapter into the center hole of the umbrella base. It should fit snugly — apply light pressure until fully seated.

Set the TPU adapter into the base.
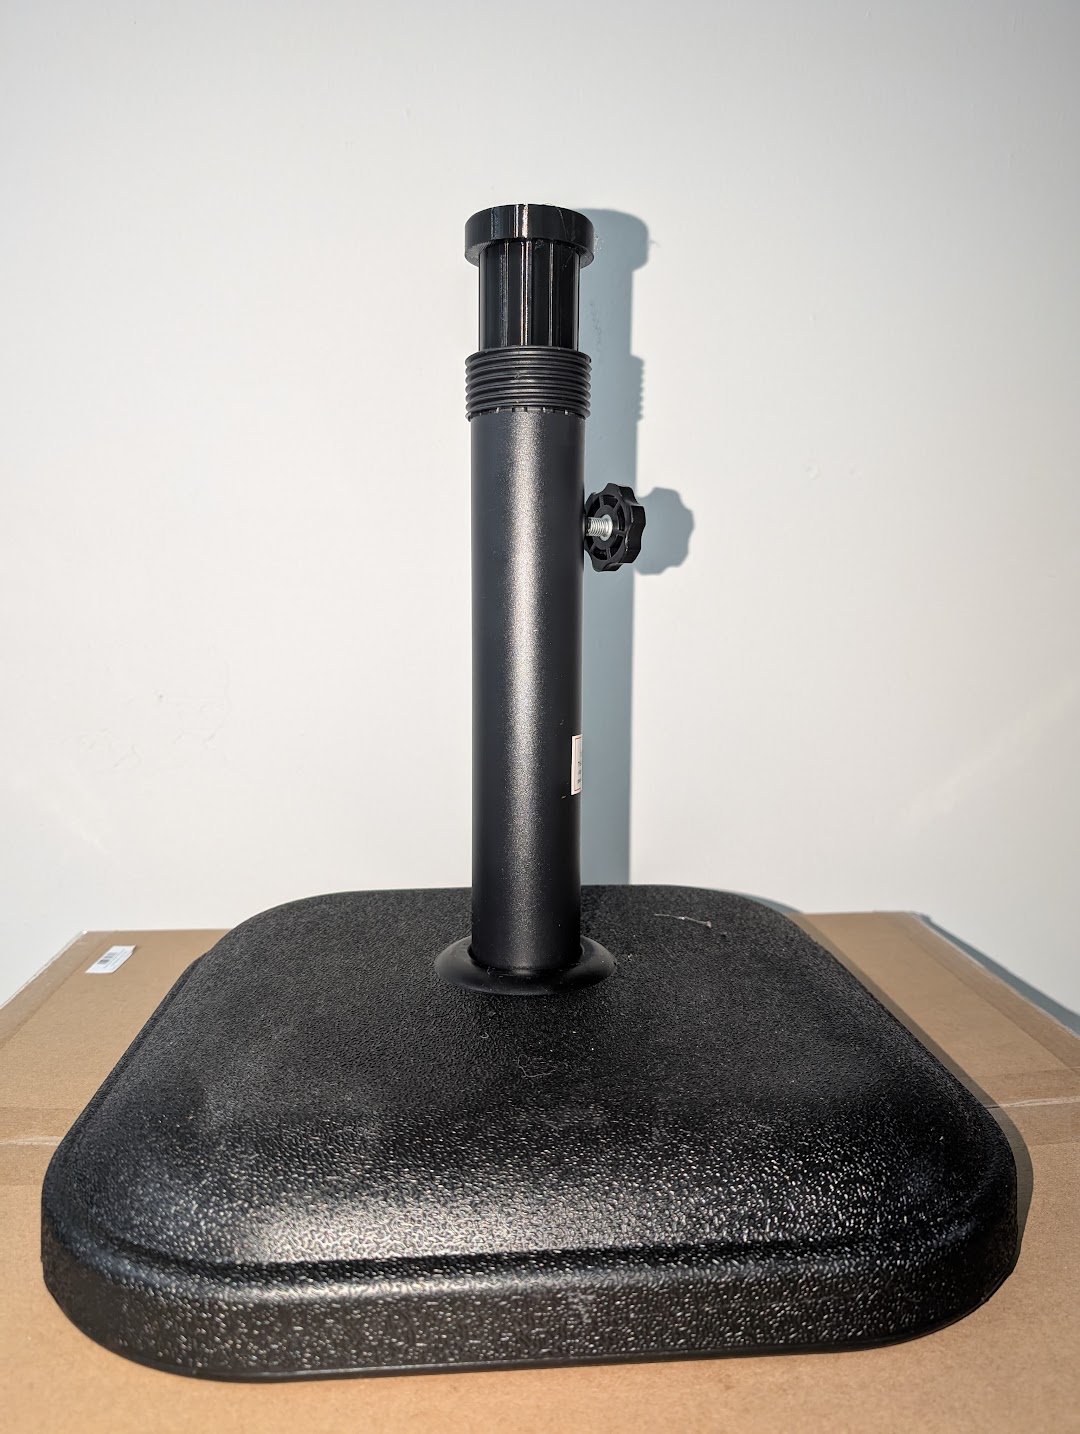
Apply light pressure to ensure the adapter fits snuggly.
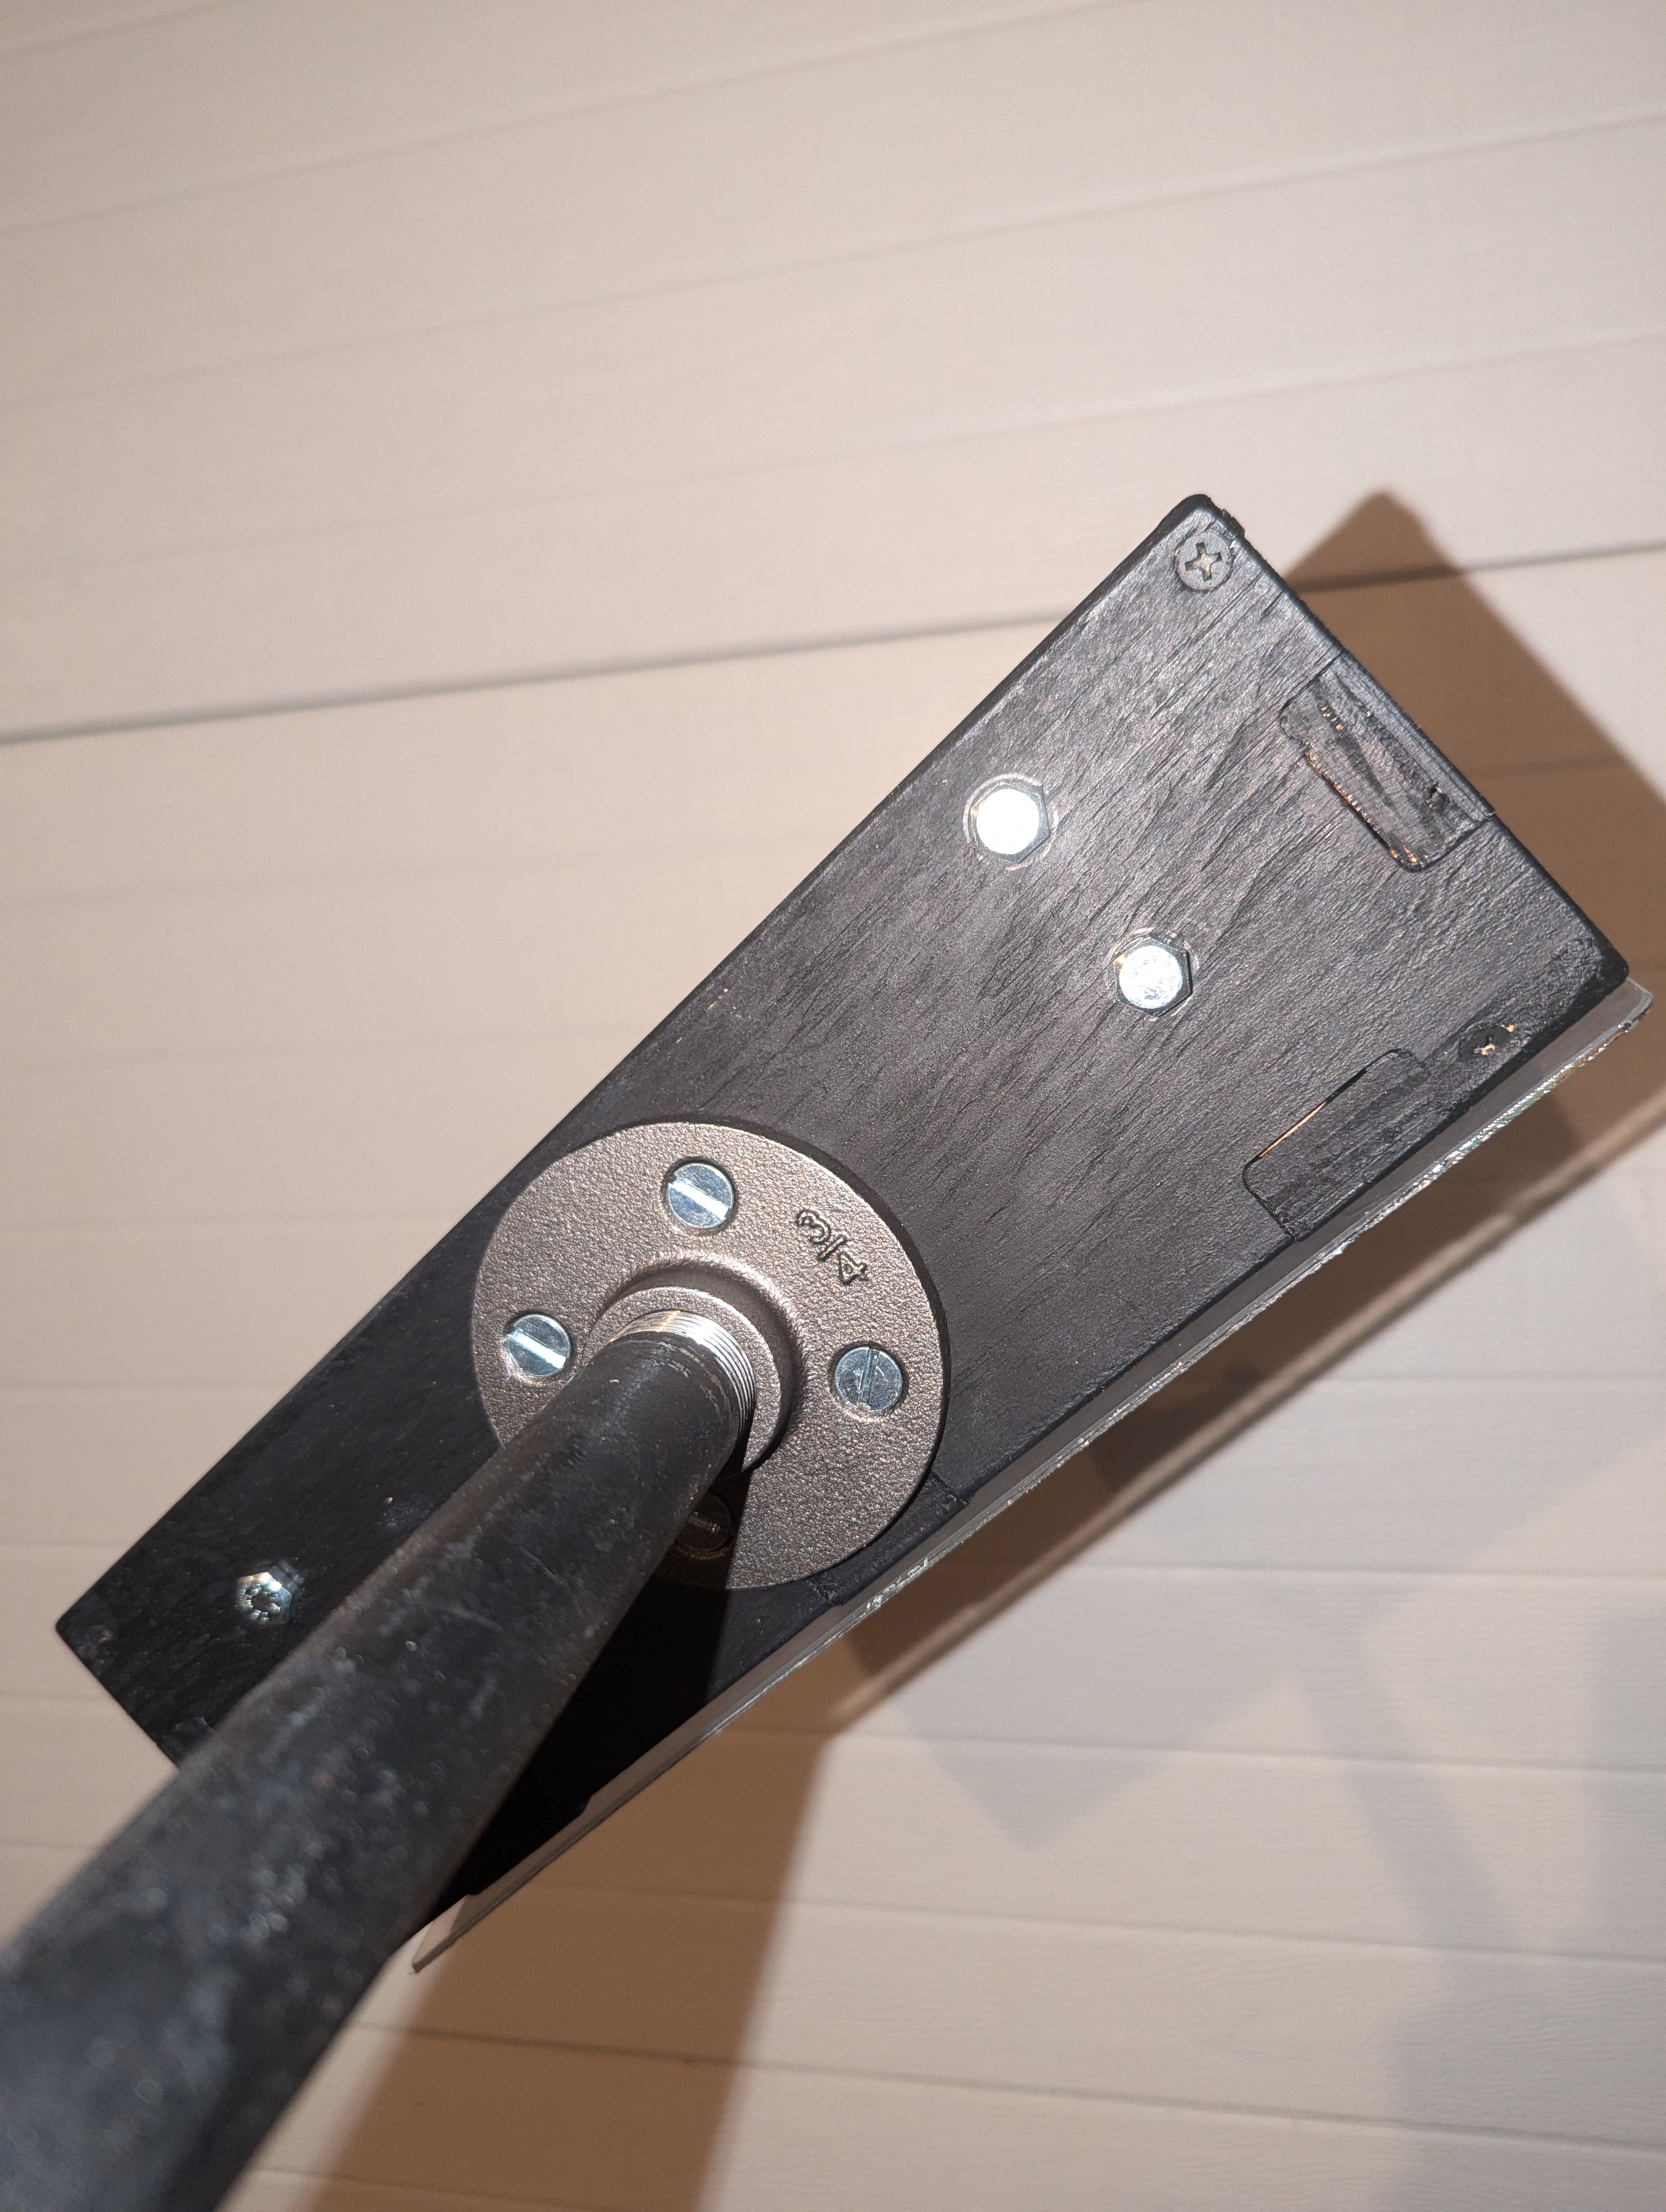
🔩 Step 3 – Attach Coupling to First 36" Pipe
Screw the ¾" coupling fitting onto one end of a 3-foot (36") steel pipe. Tighten by hand until snug.
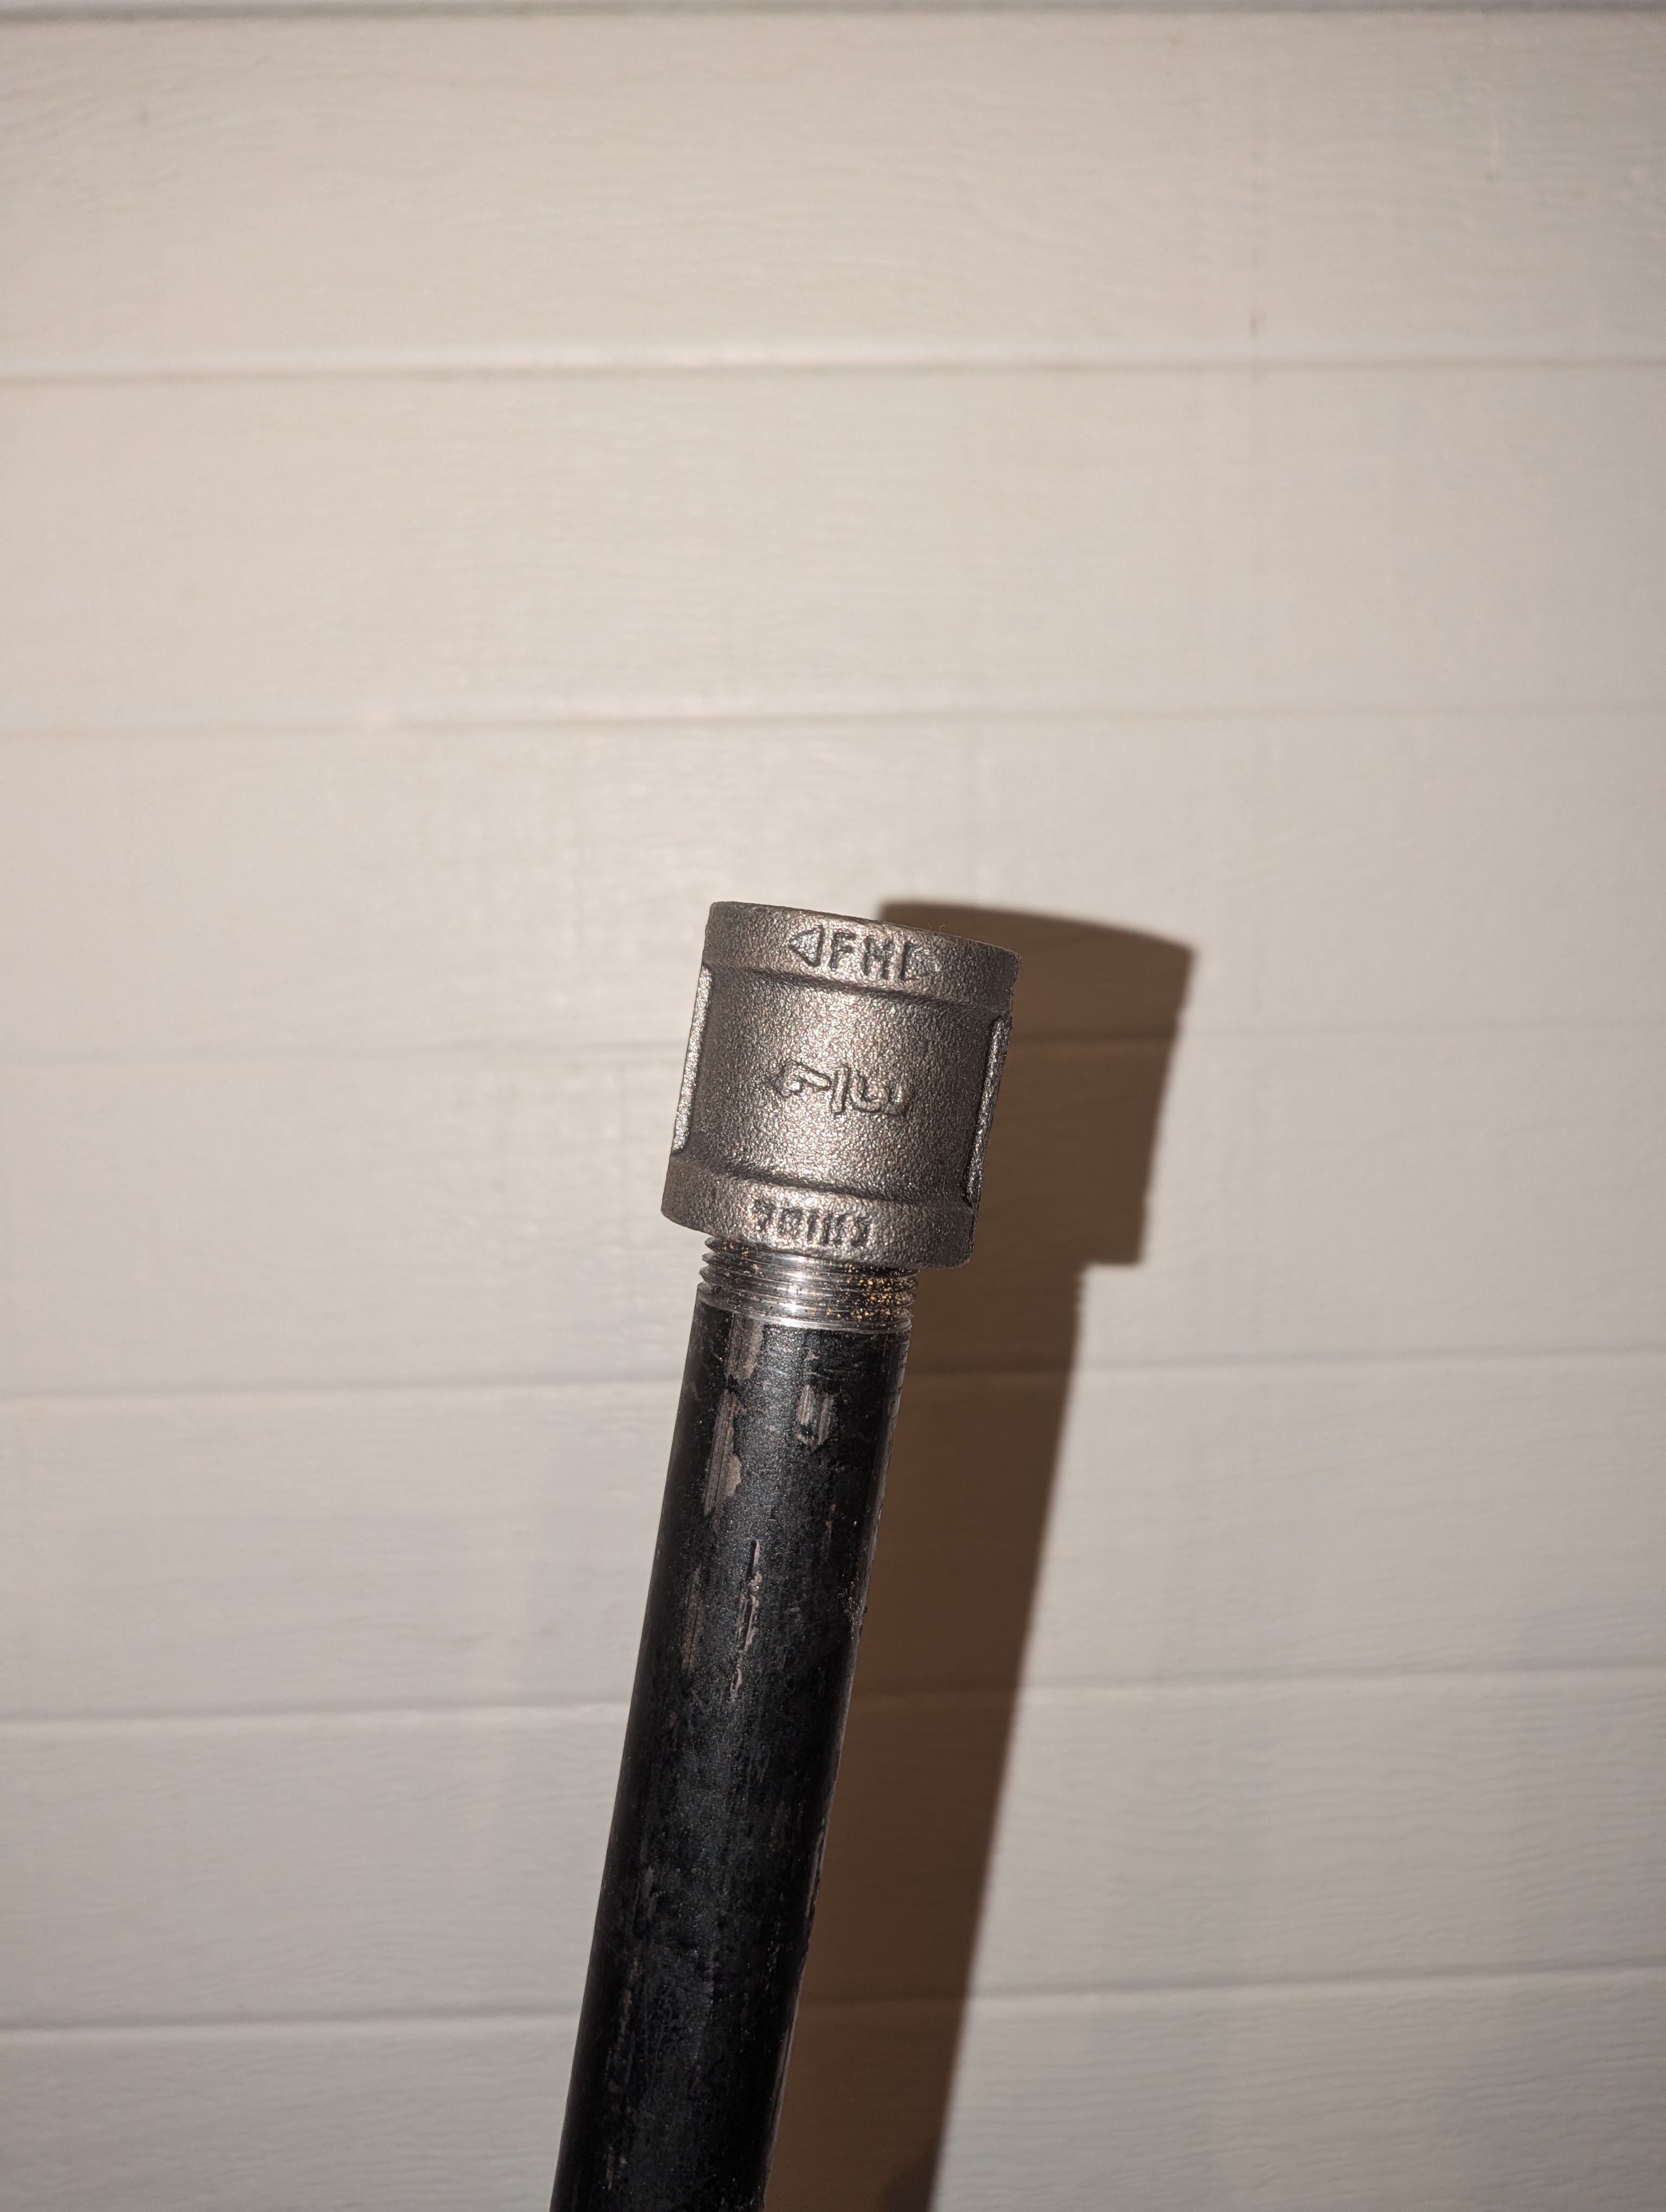
Coupler attached to pipe – ready to insert into base.
🧱 Step 4 – Insert Pipe into Base
Slide the opposite end of the 36" pipe down into the TPU adapter. The pipe should fit tightly with little wobble.

Lightly push pipe into the base. The TPU adapter will ensure a stable connection.
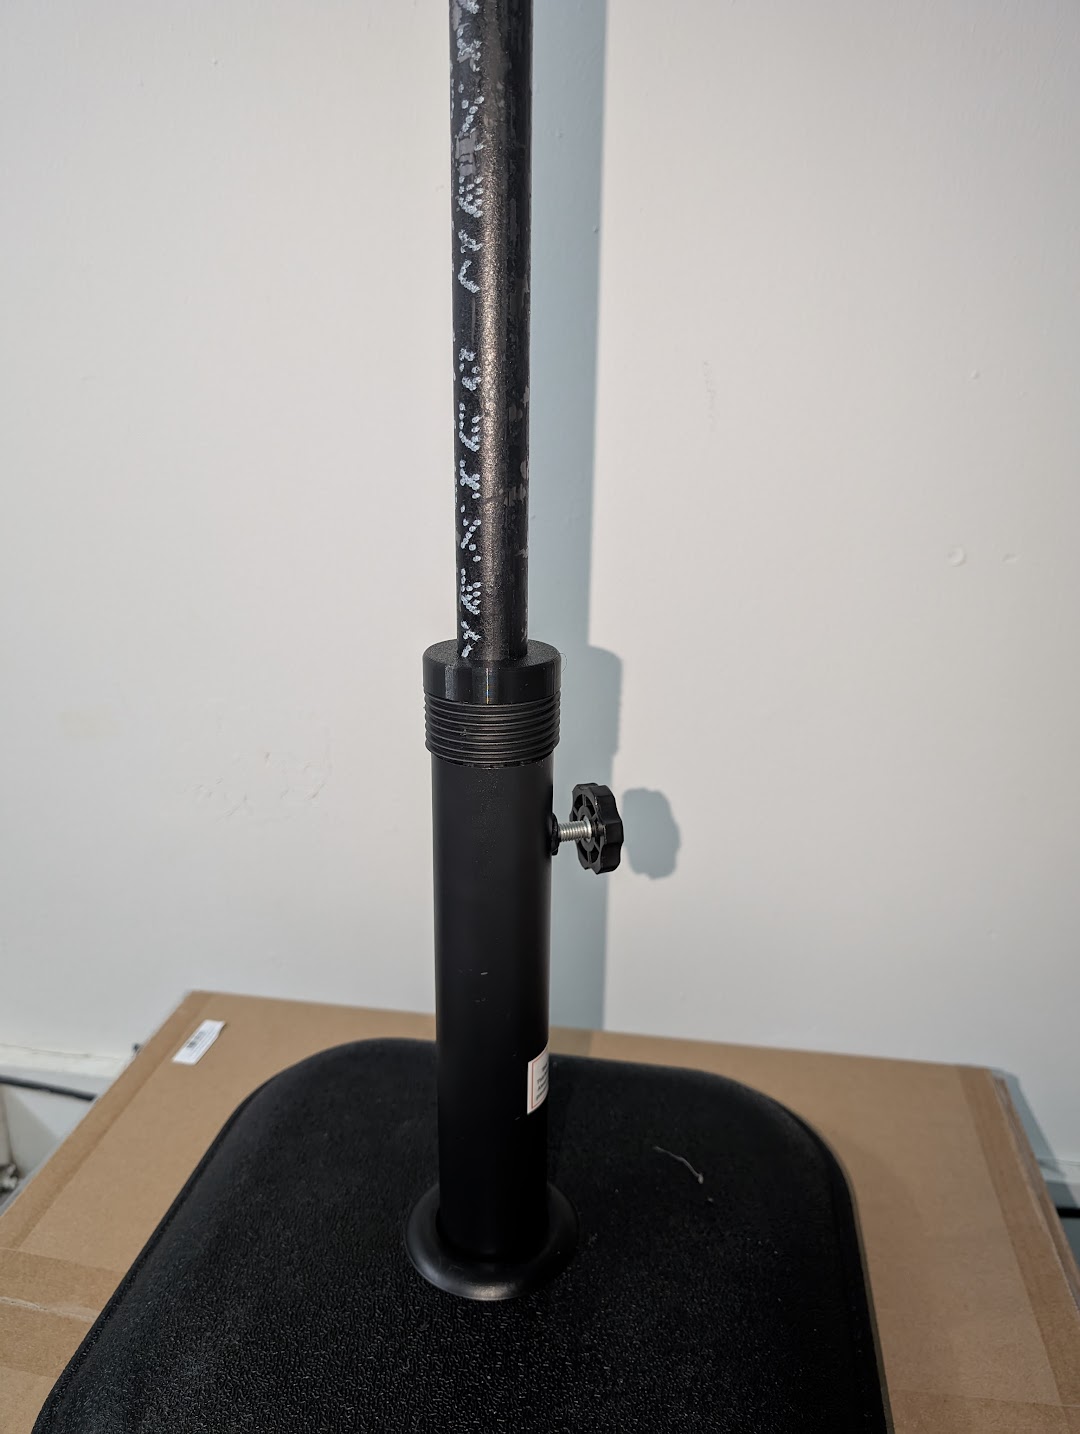
Pipe inserted vertically and firmly seated.
🔧 Step 5 – Attach the Other 36" Pipe to Coupler
Screw the 36" pipe into the top of the coupler.

Final pipe installed into coupler
Pro Tip: It may be easier to first attach the shot clock module to the 36" pipe while it’s off the stand, then thread the pipe into the coupler with the unit attached.
Attach the unit to pipe, at the top
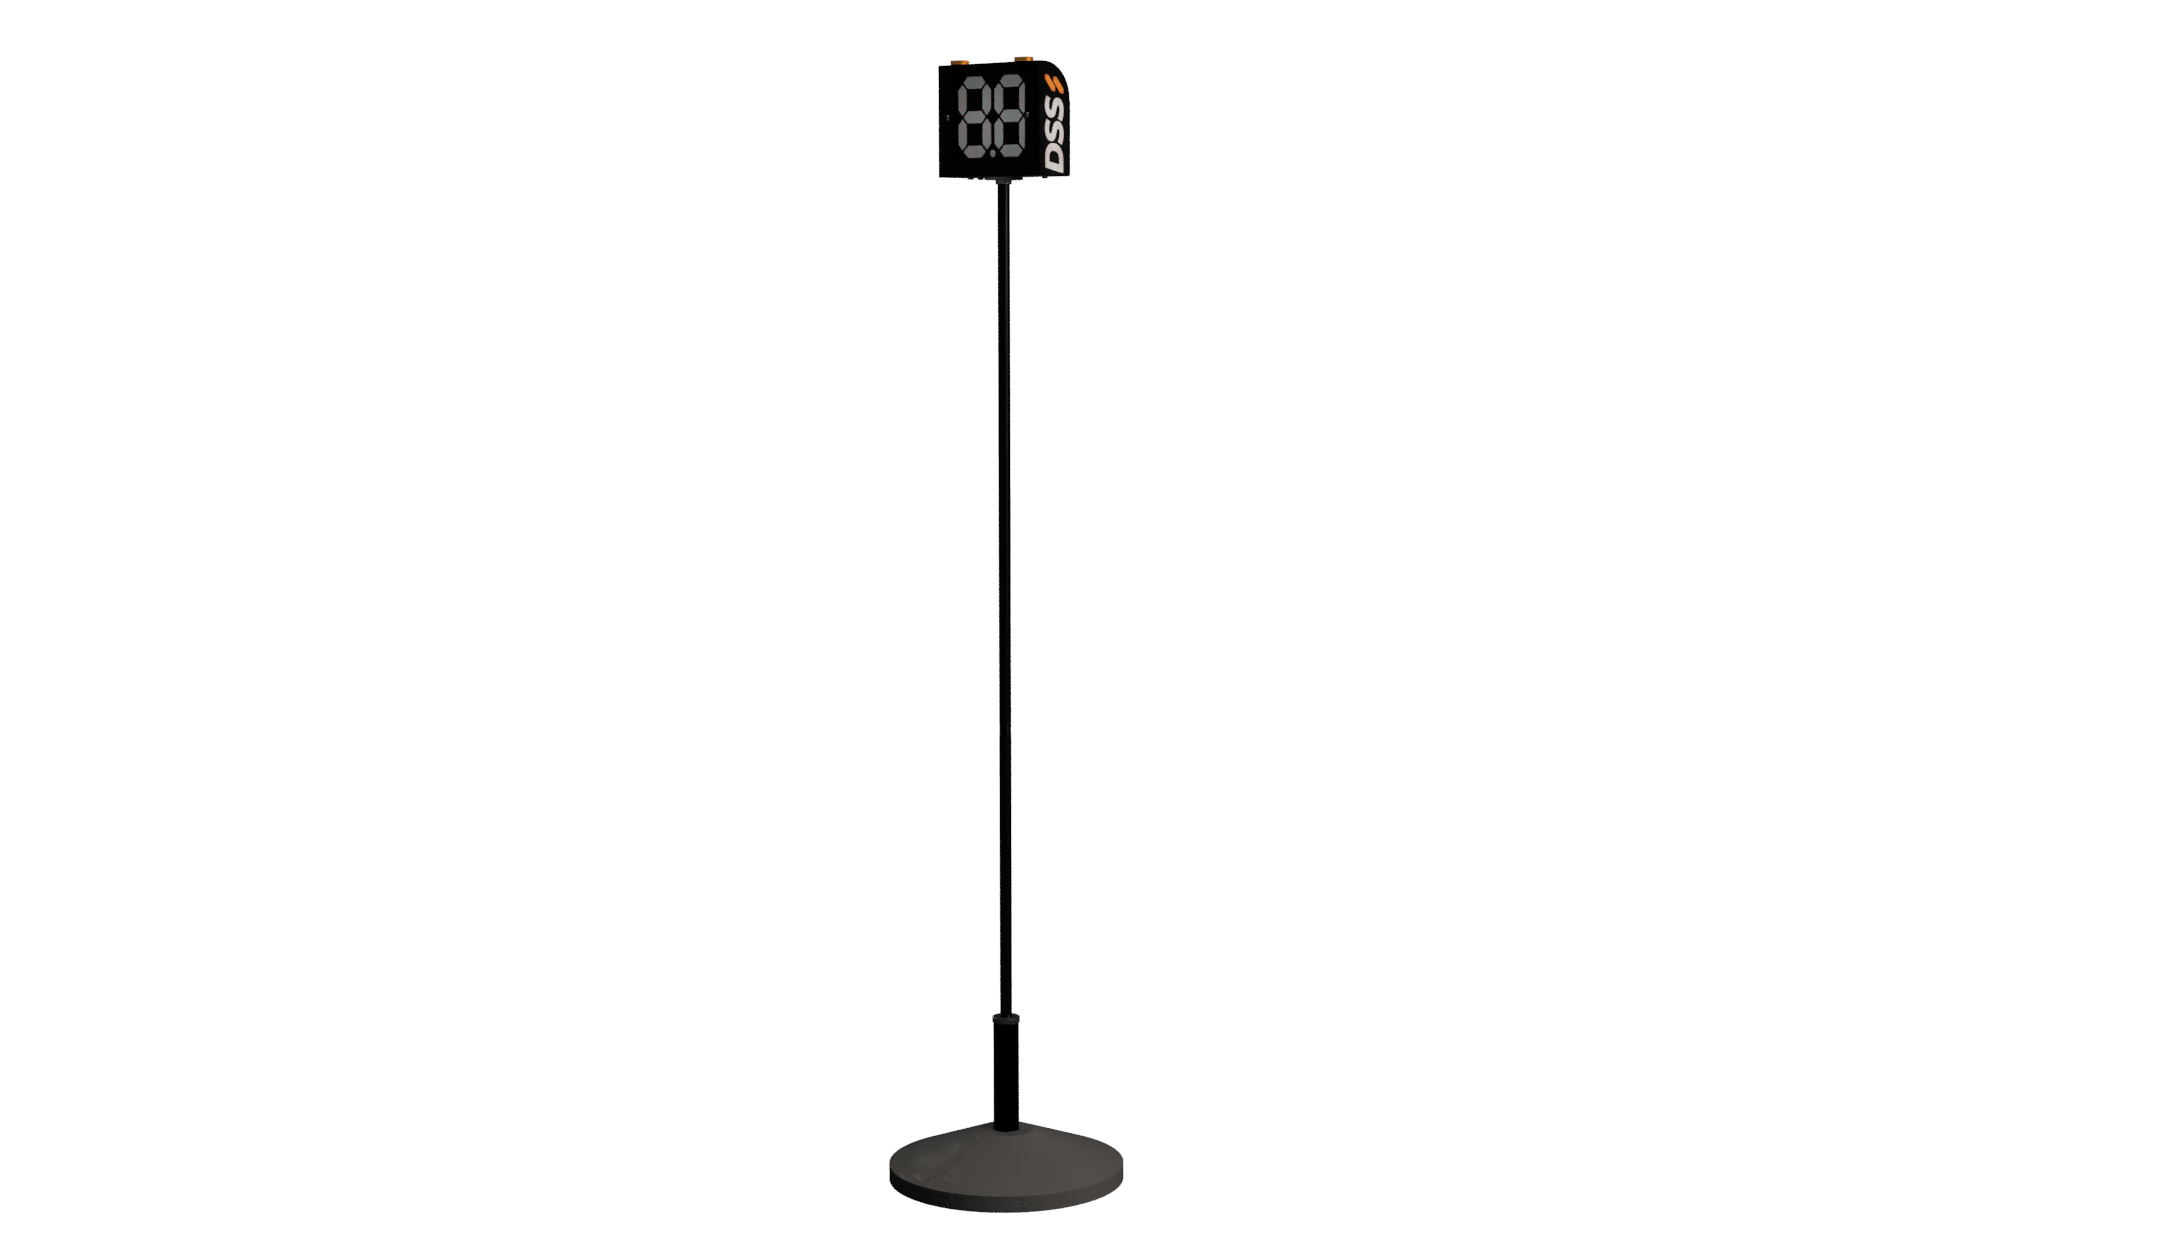
Assembled stand with Founder Edition module on top.
✅ Final Check
- 🔩 Pipes are hand-tight and secure
- ⚖️ Clock is upright and stable
- 📏 Stand height is appropriate for visibility
- 📱 Clock is ready to be powered and connected
You're now ready to set up your shot clock module!
Need help with Bluetooth pairing or app setup? Visit the
👉 How to Set Up the Founders Edition
👉 How to Connect to the App